QNAP's TBS-h574TX NASbook Review: Portable Storage Video Pros Have Been Waiting For?
We did the testing so you can buy (or not) in confidence.
I’ve been working with QNAP’s new TBS-h574TX-i5 NASbook for the last few weeks and feel ready to share my thoughts on one of the more interesting field ready storage technologies I’ve tried this year.
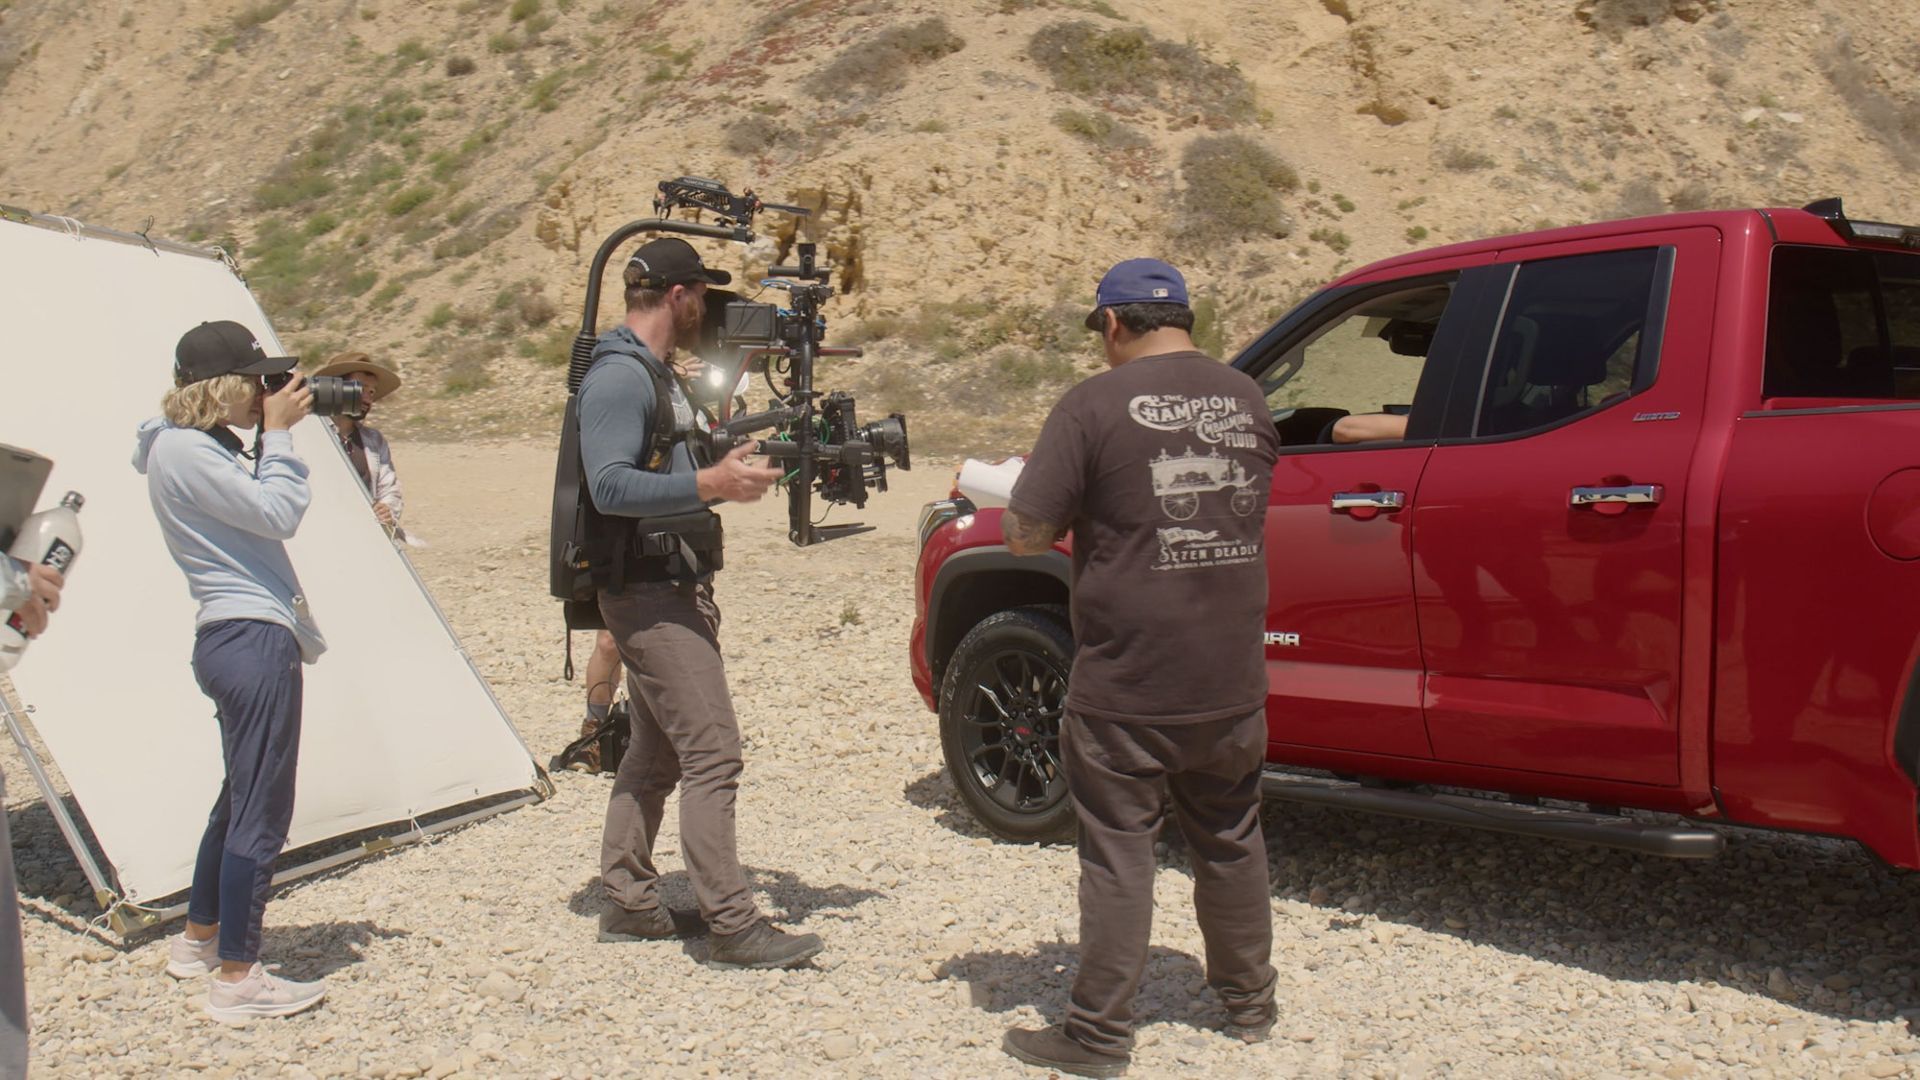
If you’re in video production and are always fighting over on-set storage solutions, then you have to pay attention to this little powerhouse. I’ve used this throughout various commercial shoots, in studio, and even took it out to some remote locations to see if it lived up to the hype.
TL;DR: What You Need to Know
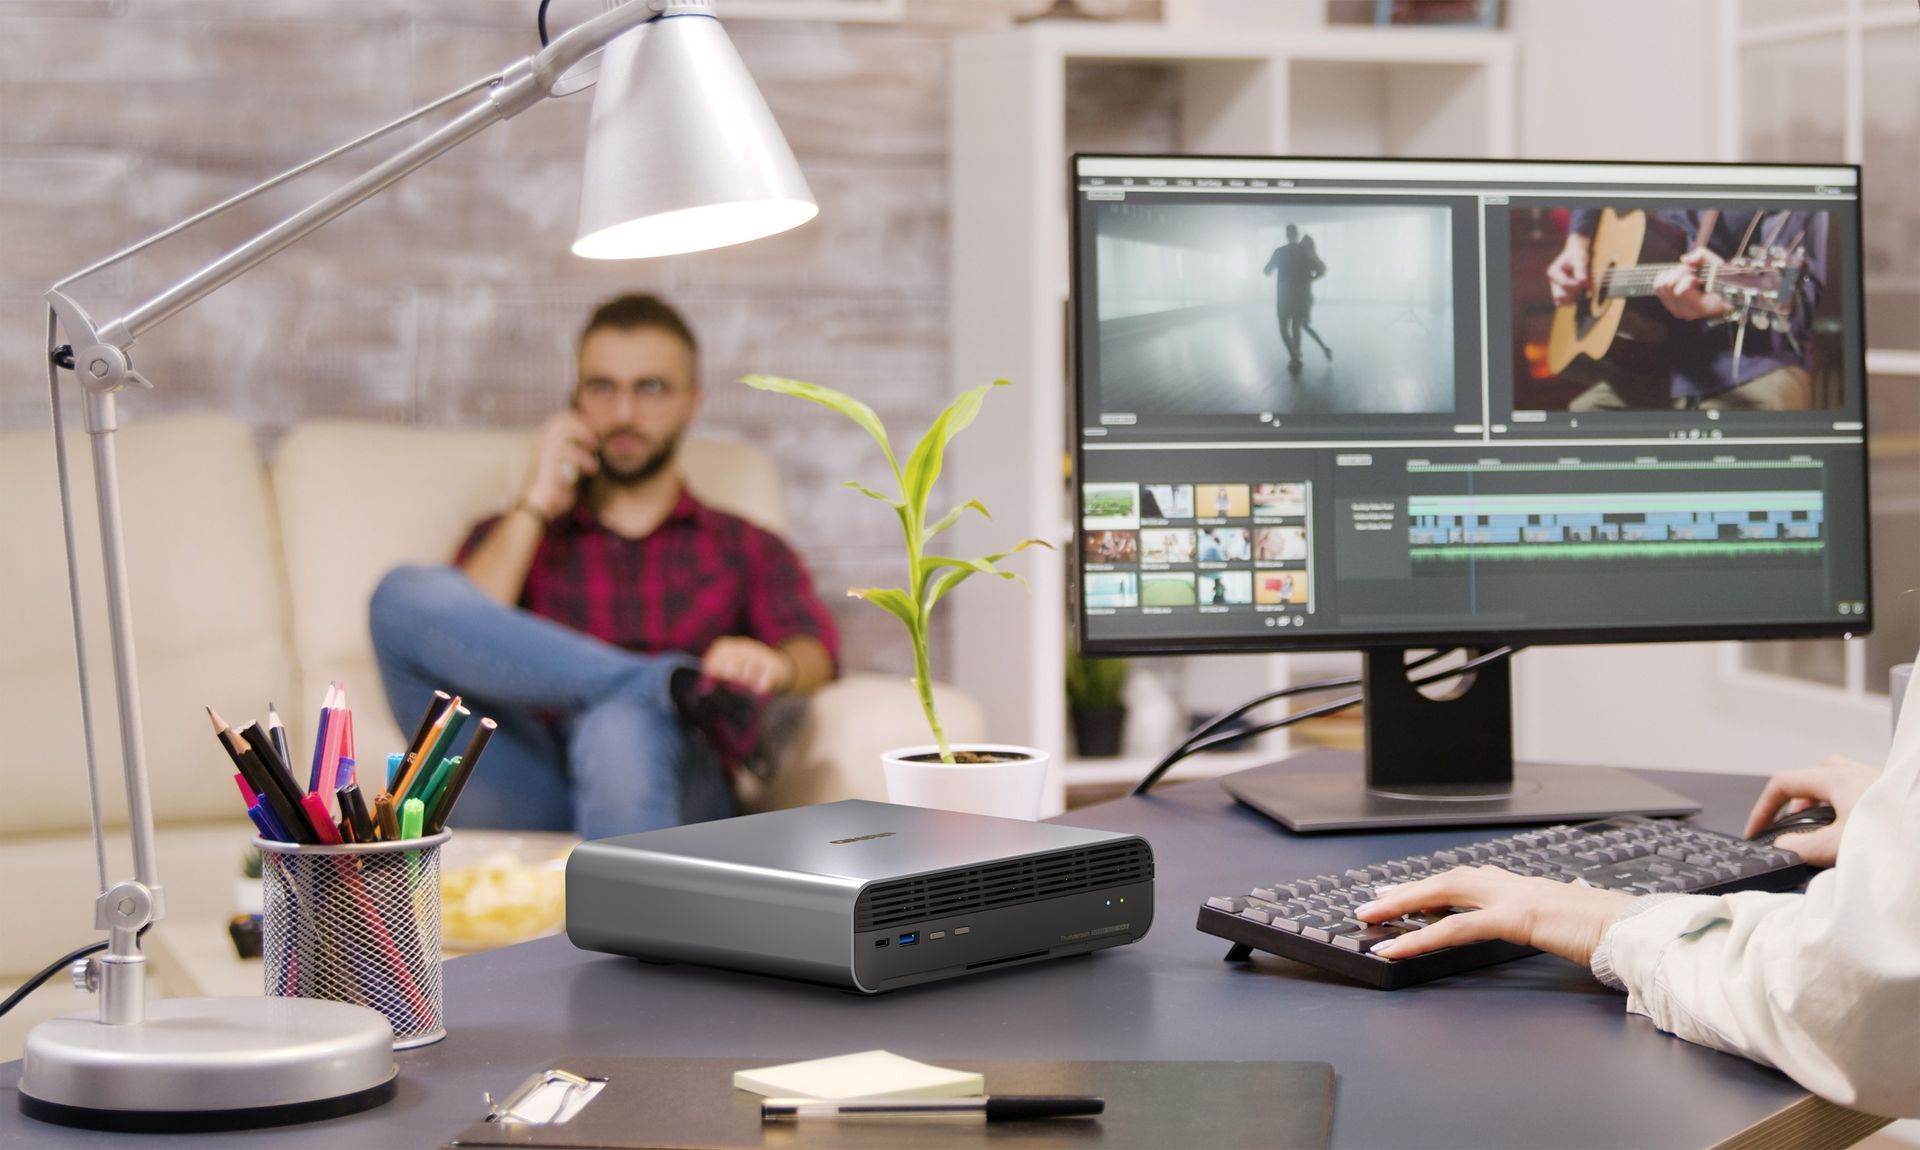
To get straight to the point, QNAP has somehow managed to fit a high-performance NAS into the size of a book.
It has five NVMe SSDs, Thunderbolt 4, 10GbE networking, a proper Core i5 CPU, and everything is crammed in a small package you can just put inside your backpack, Pelican Case, etc.
There are some downsides (like the fan noise), but overall it is a great device for speed dependent and higher end workflows. It is definitely an investment, but it easily pays for itself in reliability and efficiency.

First Impressions: Size Matters (When It's Smaller)
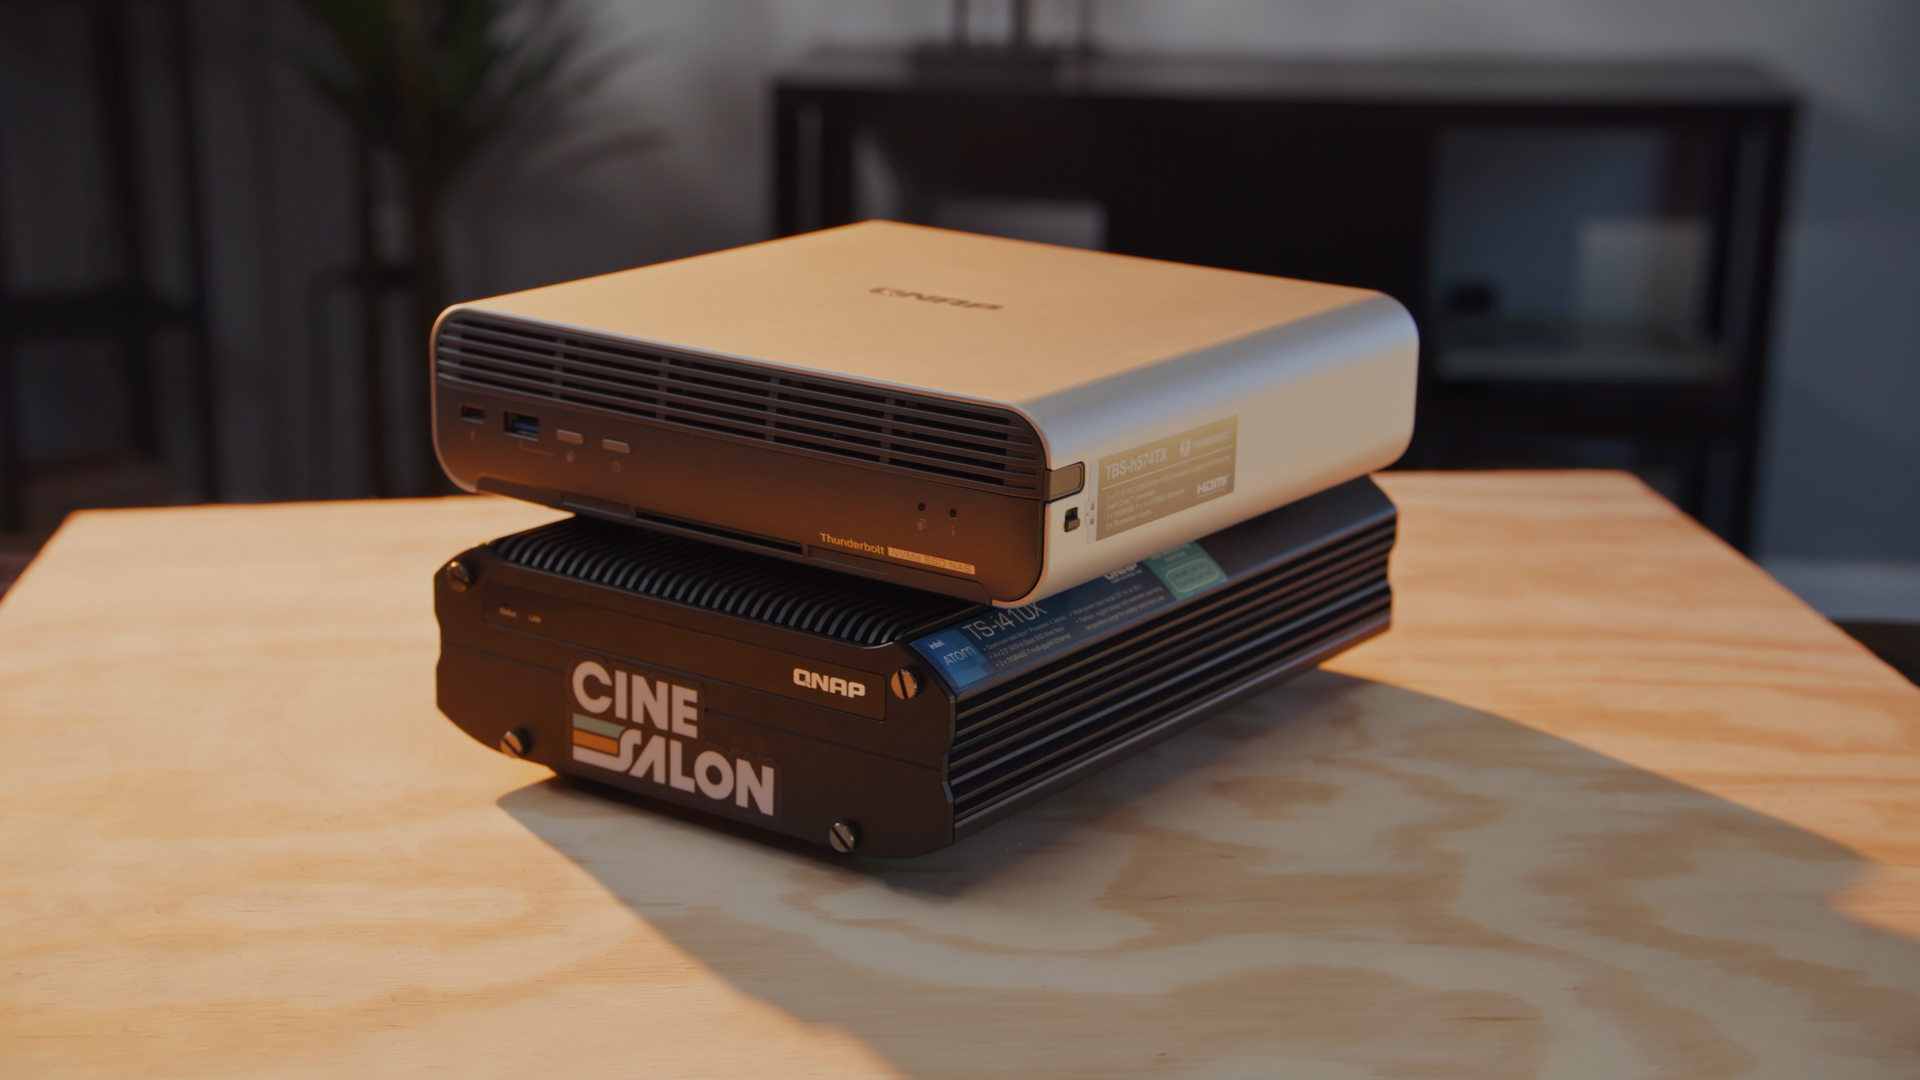
I was pleasantly surprised by how small the TBS-h574TX was when I recently received it. You can barely see it at 8.5 x 7.8 x 2.4 inches and it is smaller than my laptop. QNAP calls it a “NASbook” and that is about right. It has the size of a thick novel. Compared to the Apple Mac Studio, which is already pretty tiny, the NASbook is 31% smaller.
The build quality impresses immediately. The aluminum chassis feels solid, with that sleek gray finish and subtle gold trim that gives it a professional look. It weighs around 5 pounds, which is substantial enough to feel premium but light enough to be truly portable. I've been carrying it between shoots in my gear bag, and it hasn't shown any signs of wear despite being tossed around a bit. It's definitely Pelican case friendly if you're taking it on serious location work.
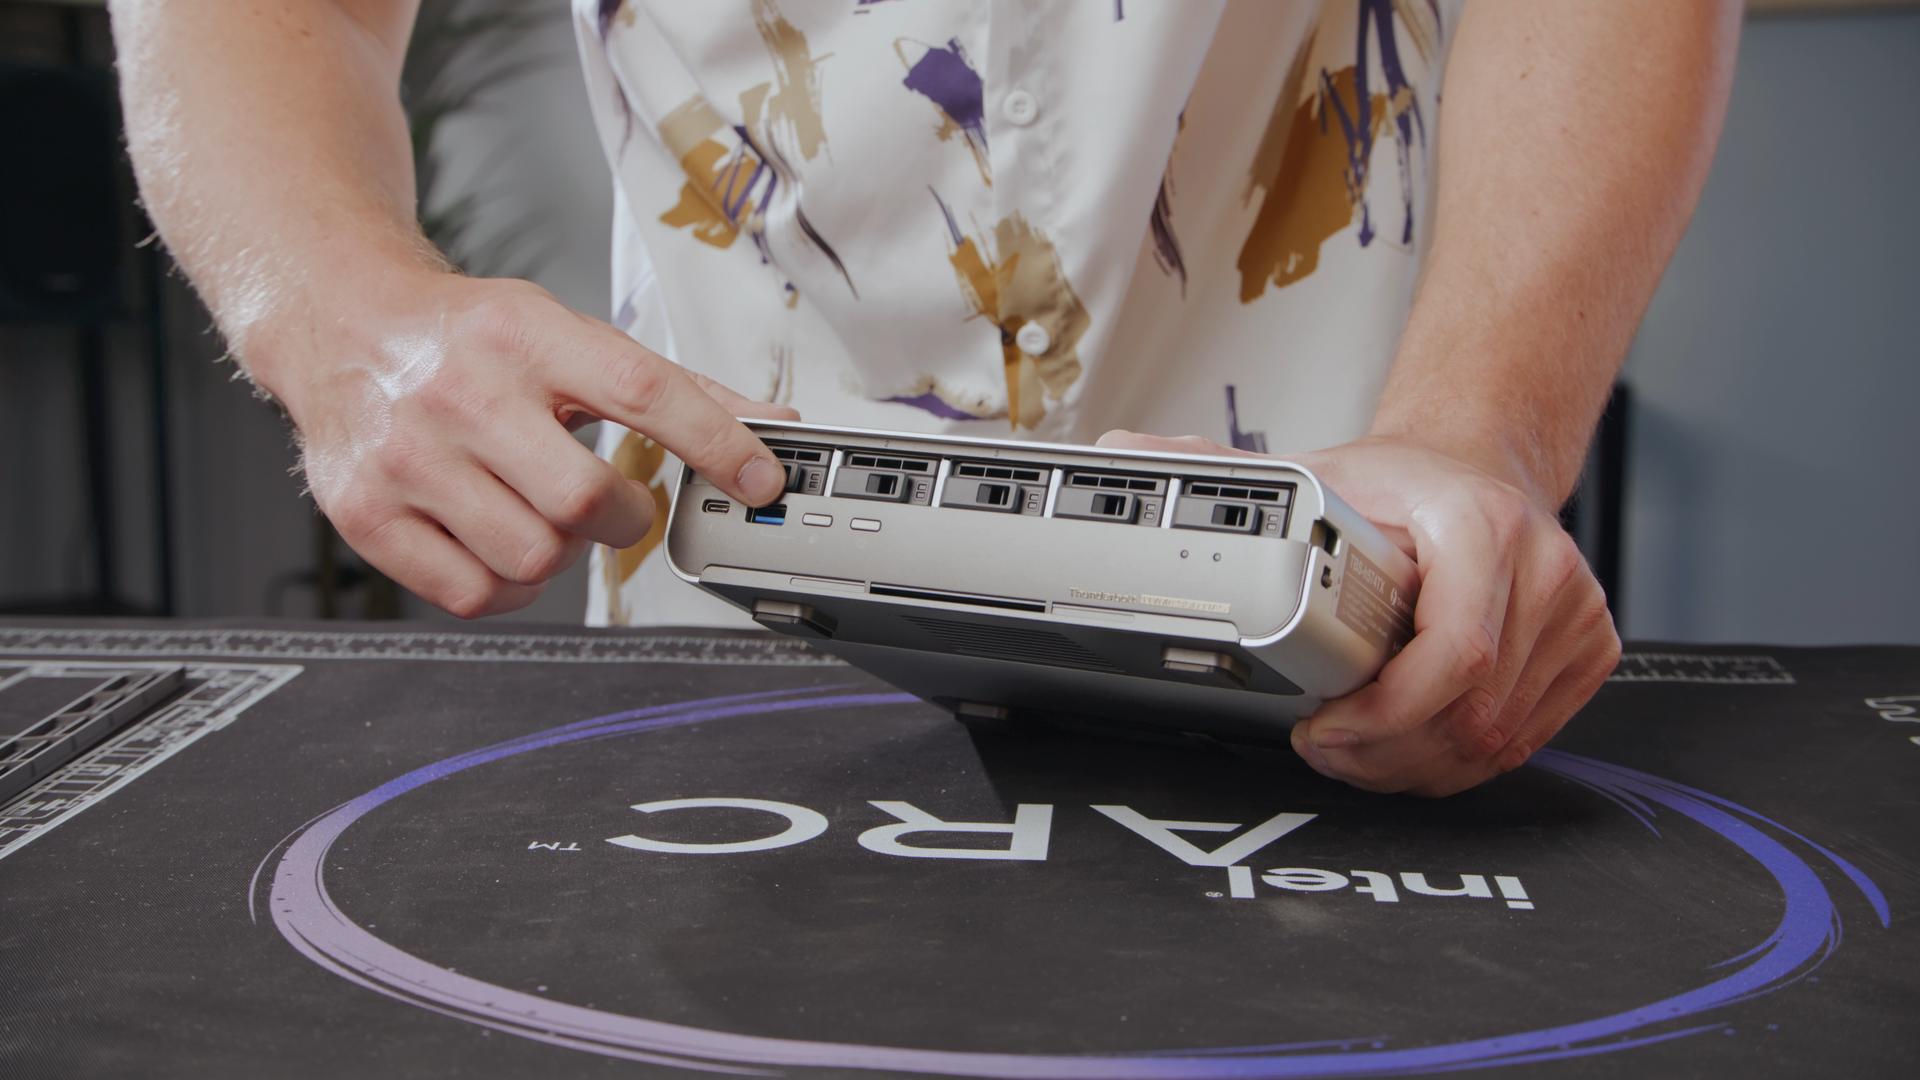
Take out the magnetic cover, which has a tiny locking switch that is somewhat cumbersome to handle for big fingers, and you’ll expose the five hot-swap NVMe bays. Each of my favorite features - the SSD slots - is equipped with a tool-less latch system that allows you to quickly swap M.2 drives without worrying about losing screws or a screwdriver. The front panel design is actually quite good as well; it is easy to access as the magnetic mechanism pops off easily but is also strong enough to remain secure while being transported.
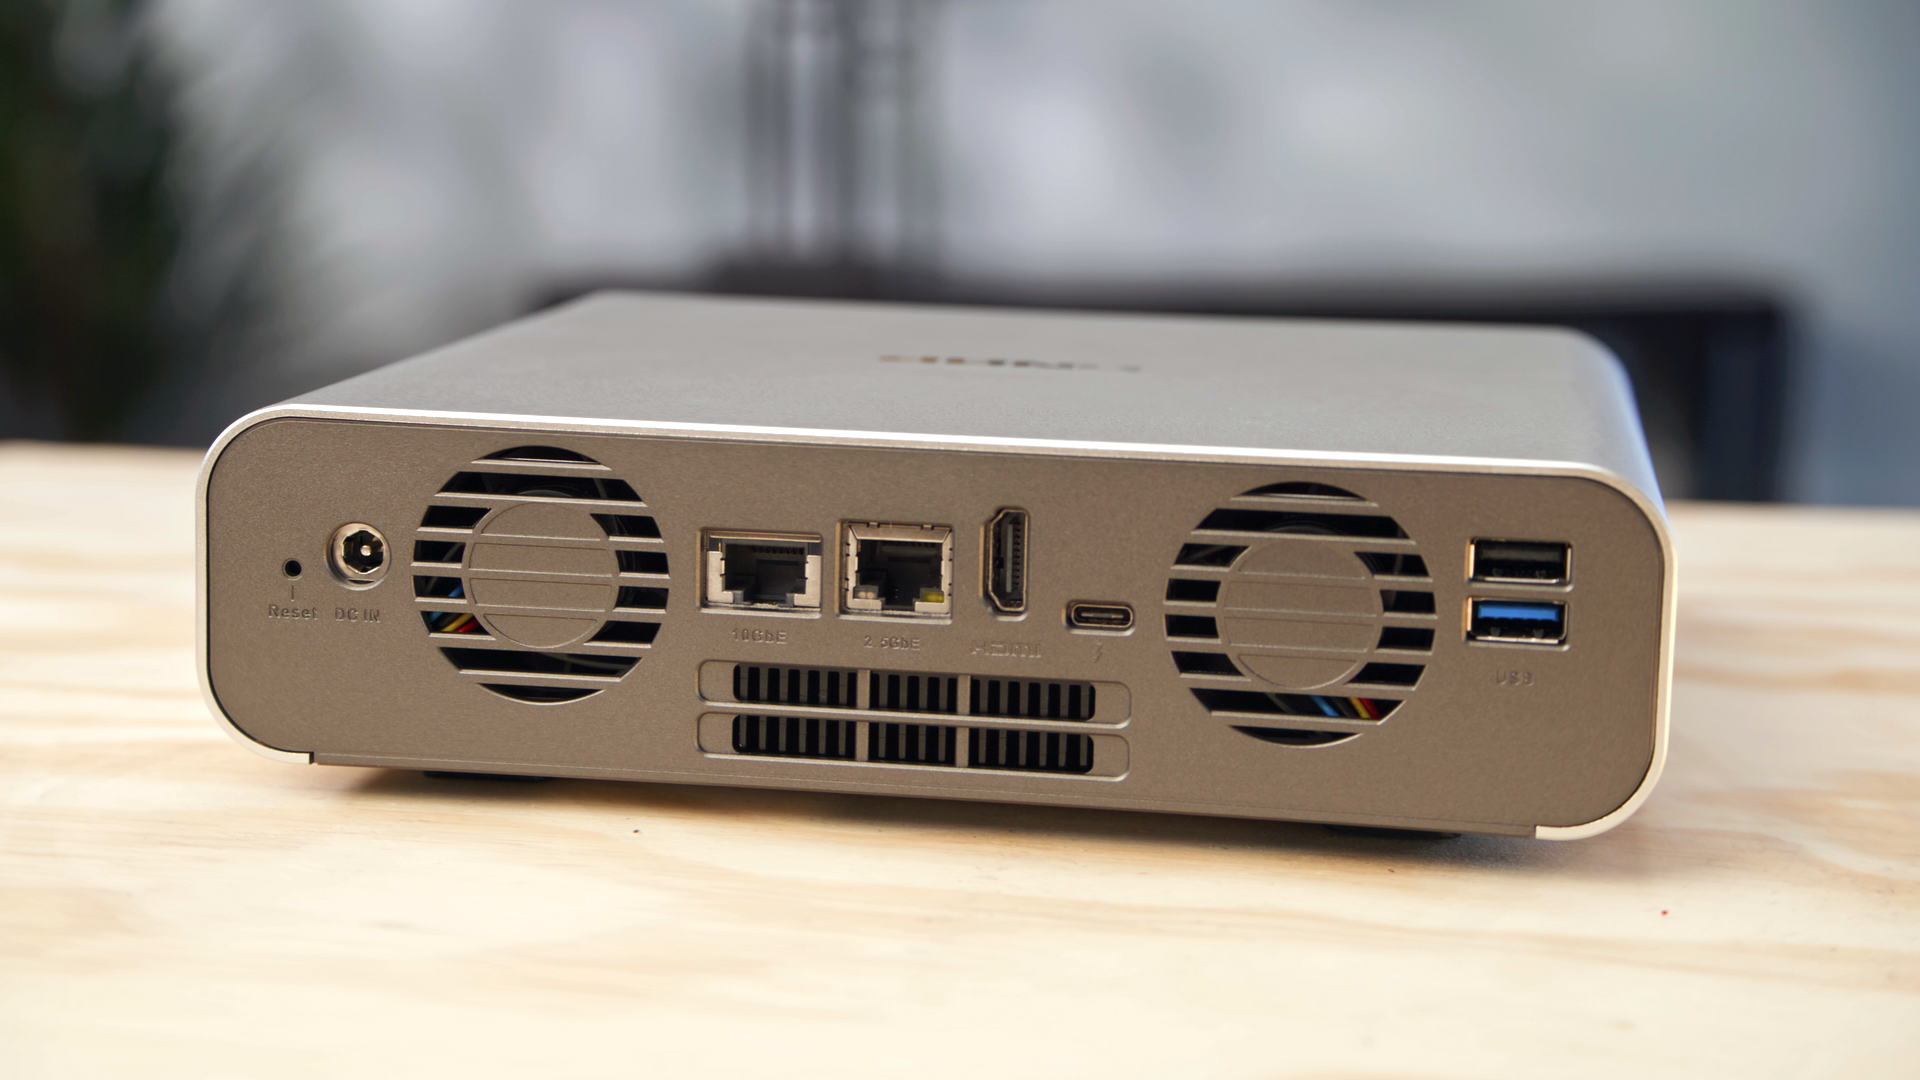
Much thought went into the arrangement as there is one Thunderbolt 4 port and one USB 3.2 Gen2 port located right at the front panel next to the power button. The front panel is perfect for effortlessly connecting card readers and portable SSDs without having to reach around to the back. As for the back panel, that is where the second TB4 port ,10GbE, 2.5GbE network ports, HDMI output, another USB 3.2 Gen2 port, and a USB 2.0 port are located.
Instead of using an internal power supply, the unit employs an external 120W power brick. This makes it easier to keep the weight down and size compact, but it does add another component you have to pack when traveling. However, it is a reasonable trade-off for the portability. The power needs to come from somewhere!
Under the Hood: Storage That Flies (As fast as your connection allows)
TBS-h574TX is a flash-only NAS: no more hard disk drives. It has five bays for M.2 2280 NVMe SSDs (with E1.S slot adapters that come with the device), and every slot operates at PCIe Gen3 x2 levels. This implies that, in my tests, each drive tops out at around 1.5-2GB/s, which is remarkable for a device of this size.
Some storage pros might complain that QNAP “restricted” these slots to x2 lanes instead of x4, and yes, that means you will not achieve the utmost from those PCIe 4 drives (this does bother me)... But for practical purposes? The total bandwidth available is great and will saturate your connection speed. I have set mine up with RAID 5 using five 4TB drives, so my usable space is 16TB, which easily maxes out 10GbE and returns 1.8-1.9GB/s through Thunderbolt to my MacBook Pro. I also tested with 3x 8TB OWC NVMe's and performance was about the same.
For video editors: that’s sufficient for many simultaneous streams of 4K ProRes 422 HQ or even for 8K footage without as much effort. While I scrub through timelines or play back intricate sequences, there's absolutely no stuttering—something that is incredibly important to keep in mind when doing daily edits during event work or time sensitive workflows.
The upgrade of being able to use standard M.2 2280 NVMe drives is remarkable. Drives such as the consumer grade Samsung 980 Pro and the WD Black SN850, or the Seagate Enterprise Nytro SSD which holds enterprise grade reliability, are all good options.
**It is also important to mention that QNAP suggests for those adding M.2 heatsinks to not exceed 4.5mm in height for proper fitting into the sleds. Plus adding heatsinks improves thermal stability which is always a bonus.
A more powerful feature comes from an Intel Core i5-1340PE (12 cores/16 threads) and 16 gigs of DDR4 RAM. Unlike many Portable NAS units which contain a less powerful Atom processor, this system uses a laptop grade CPU equipped with Xe Iris graphics. This enables seamless performance under loads of work, such as transcoding, multiperson access to the system, and multitasking. Even under intense work loads, the device performs admirably. During my tests, the NAS was transcoding ProRes tapes to H.264 proxies and supplying multiple file stations simultaneously.
Make sure to note the RAM is soldered on meaning it cannot be upgraded. If you’re thinking about going for the cheaper i3-1320PE model with 12GB RAM, I would strongly advise going for the i5/16GB version. Some of ZFS features (like deduplication) won't even activate without the full 16GB. Additionally, the i5 model gives you more CPU cores (12 vs 10) and not to mention the better Iris Xe graphics, which significantly enhances performance in video processing tasks.
Operating System: QuTS hero vs QTS
The TBS-h574TX comes with QNAP's QuTS hero, which is their ZFS based operating system. This offers redundant checksums, copy-on-write, snapshots, and self-healing capabilities, which are priceless when working with footage one cannot replace.
For those unaware of ZFS, it’s a file system which has the capabilities to identify and fix silent data corruption, the sort of data corruption that would be a nuisance and a problem during a client showcase or review. Every shred of data is constantly verified repeatedly; checksums are used to validate that what is being read is what was written. This reliable seal of data integrity is extremely beneficial for video work.
In case you're fixated on working speed and don't require ZFS, you can revert back to QNAP's standard which is the QTS operating system. QTS runs on ext4, and is somewhat resource friendly. In my case, the QuTS hero performed outstandingly during testing when done on the i5/16GB configuration, and due to extra data protection, I decided to keep it.
If you've used any modern NAS, you'd find the UI intuitive because there is a desktop-like interface available through a web browser. Shares and users can be set up easily, and permissions are not complicated to manage. In case additional functions like cloud sync, backup tools, and media servers are required, QNAP offers an ecosystem of applications that supplements its functionality.
If you're on the fence about which to pick, watch the in-depth video below. I always go with QuTS Hero when I can. It's just better for us.
Connectivity: All the Ports You Need
Thunderbolt 4 (2 ports)
Dual TB4 ports make a difference. Each port can manage 40Gbps of bandwidth throughput (although it “appears” the NAS uses them at 20Gbps for networking).
Front of the device, I use the TB-4 for my MacBook Pro. I leave it on set so I can connect it directly and ingest footage at 1.8-1.9GB/s. The rear TB4 port can be used for daisy chaining other Thunderbolt peripherals such as external displays, supplemental storage, etc.
QNAP using Thunderbolt networking is great!
On my Mac, it is literally plug and play. The NAS mounts as a network disk and within seconds I am editing off it. This direct link converts the NAS to some extent into a high-speed DAS (direct-attached storage) when required.
Windows sees it to on our Razor Laptop, but it acted up every once and awhile and I deemed it not reliable enough for a professional DIT cart setting.
10GbE and 2.5GbE Networking
In the studio, my primary connection is the 10GbE port. The NASbook is connected to our 10G switch in the studio, so it’s my primary connection. My entire team can access the footage concurrently at approximately 1GB/s—which is good enough for most collaborative editing sessions on many projects.
This 2.5GbE port helps in providing a secondary connection and in some occasions I would use it for management traffic or a backup link. It’s also useful with clients who don’t have 10G equipemnt but have multi-gig networking.
The Dual TB4 ports are great for smaller teams thus making up for the 10G + 2.5G combo, but it would’ve also been nice if dual 10GbE ports were included instead of 10G + 2.5G to improve redundancy or bandwidth, especially for aggregate links to a switch.
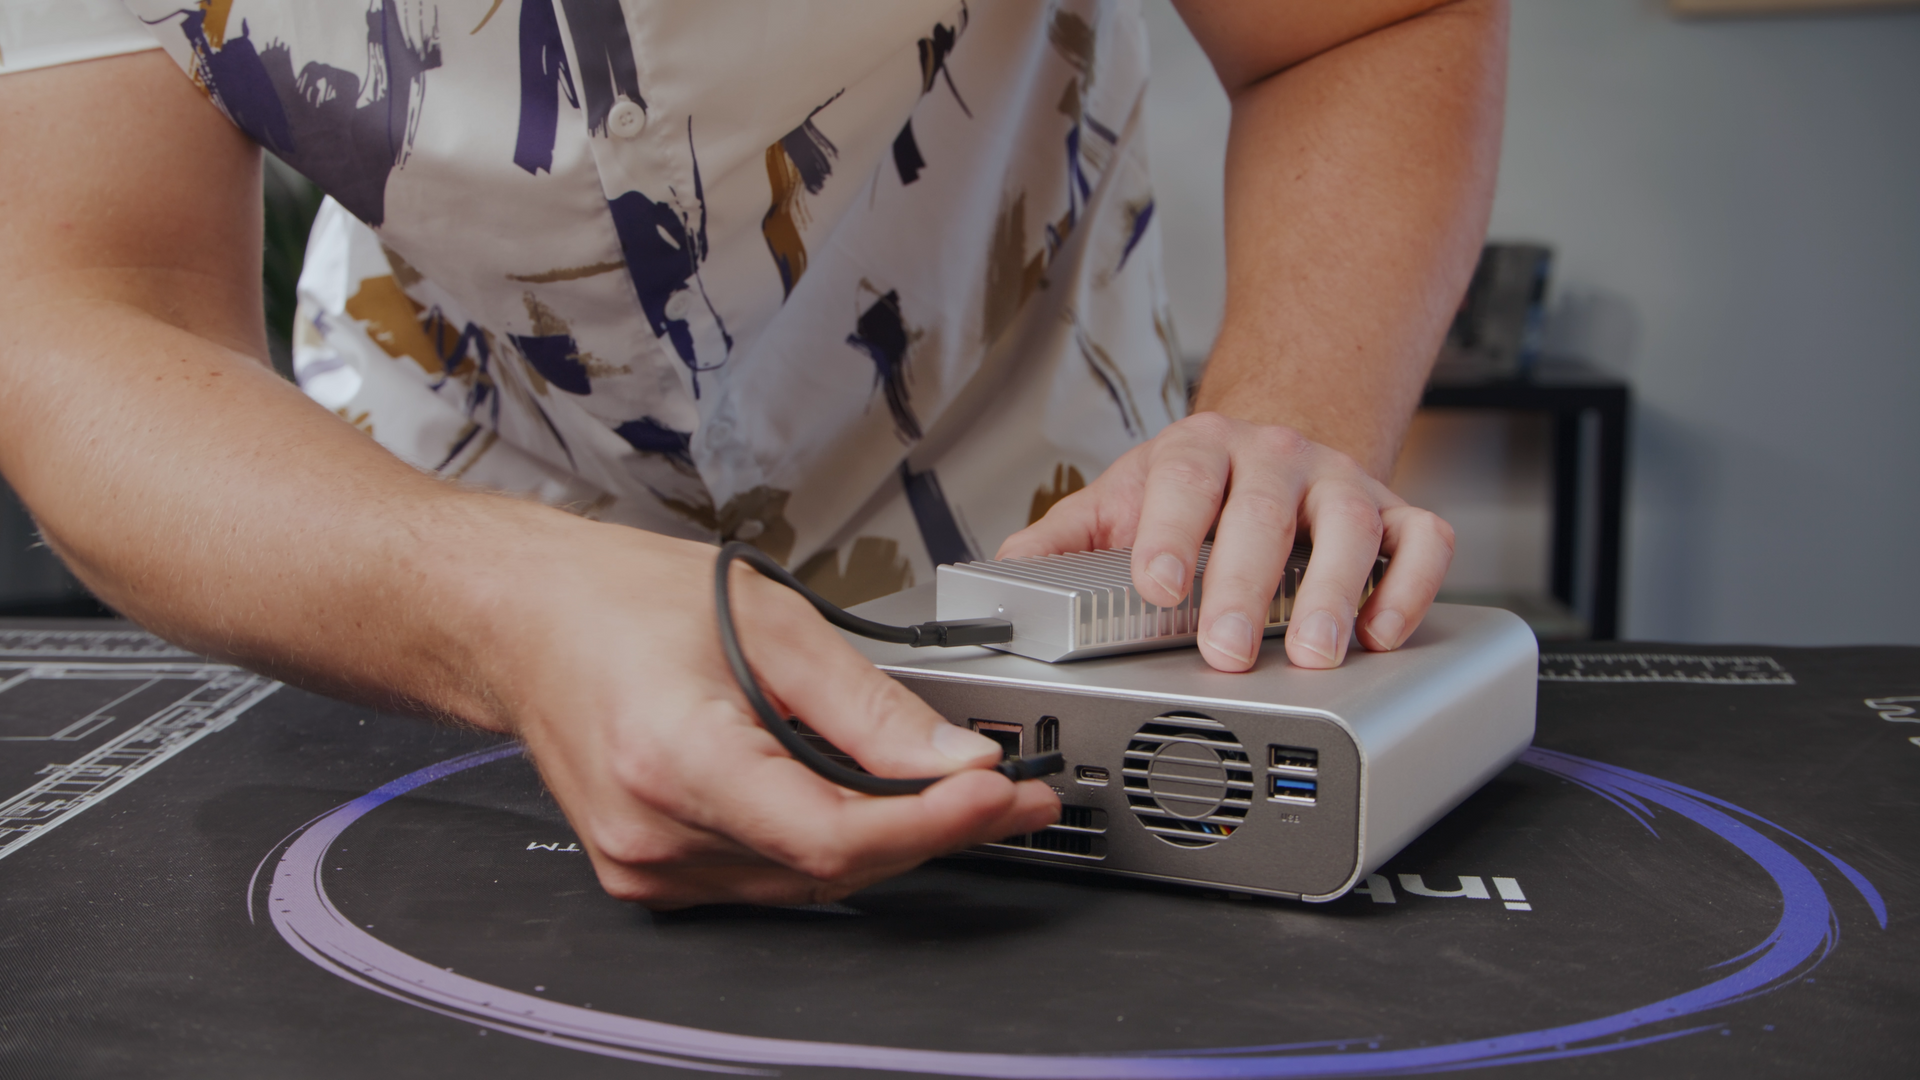
HDMI 1.4b Output
Flexibility for monitoring and software usage comes with the addition of the HDMI port as it allows direct content playback. I don't really use this feature on any of the NAS's we have, but it's there if you have that use case.
USB 3.2 Gen2 Ports (10Gbps)
One front and one rear means that two ports can be used to connect external drives, high-speed card readers or even USB-C docks. For rapidly ingesting footage directly into the NAS, I use the front USB-C port for CFexpress card readers.
Power Considerations
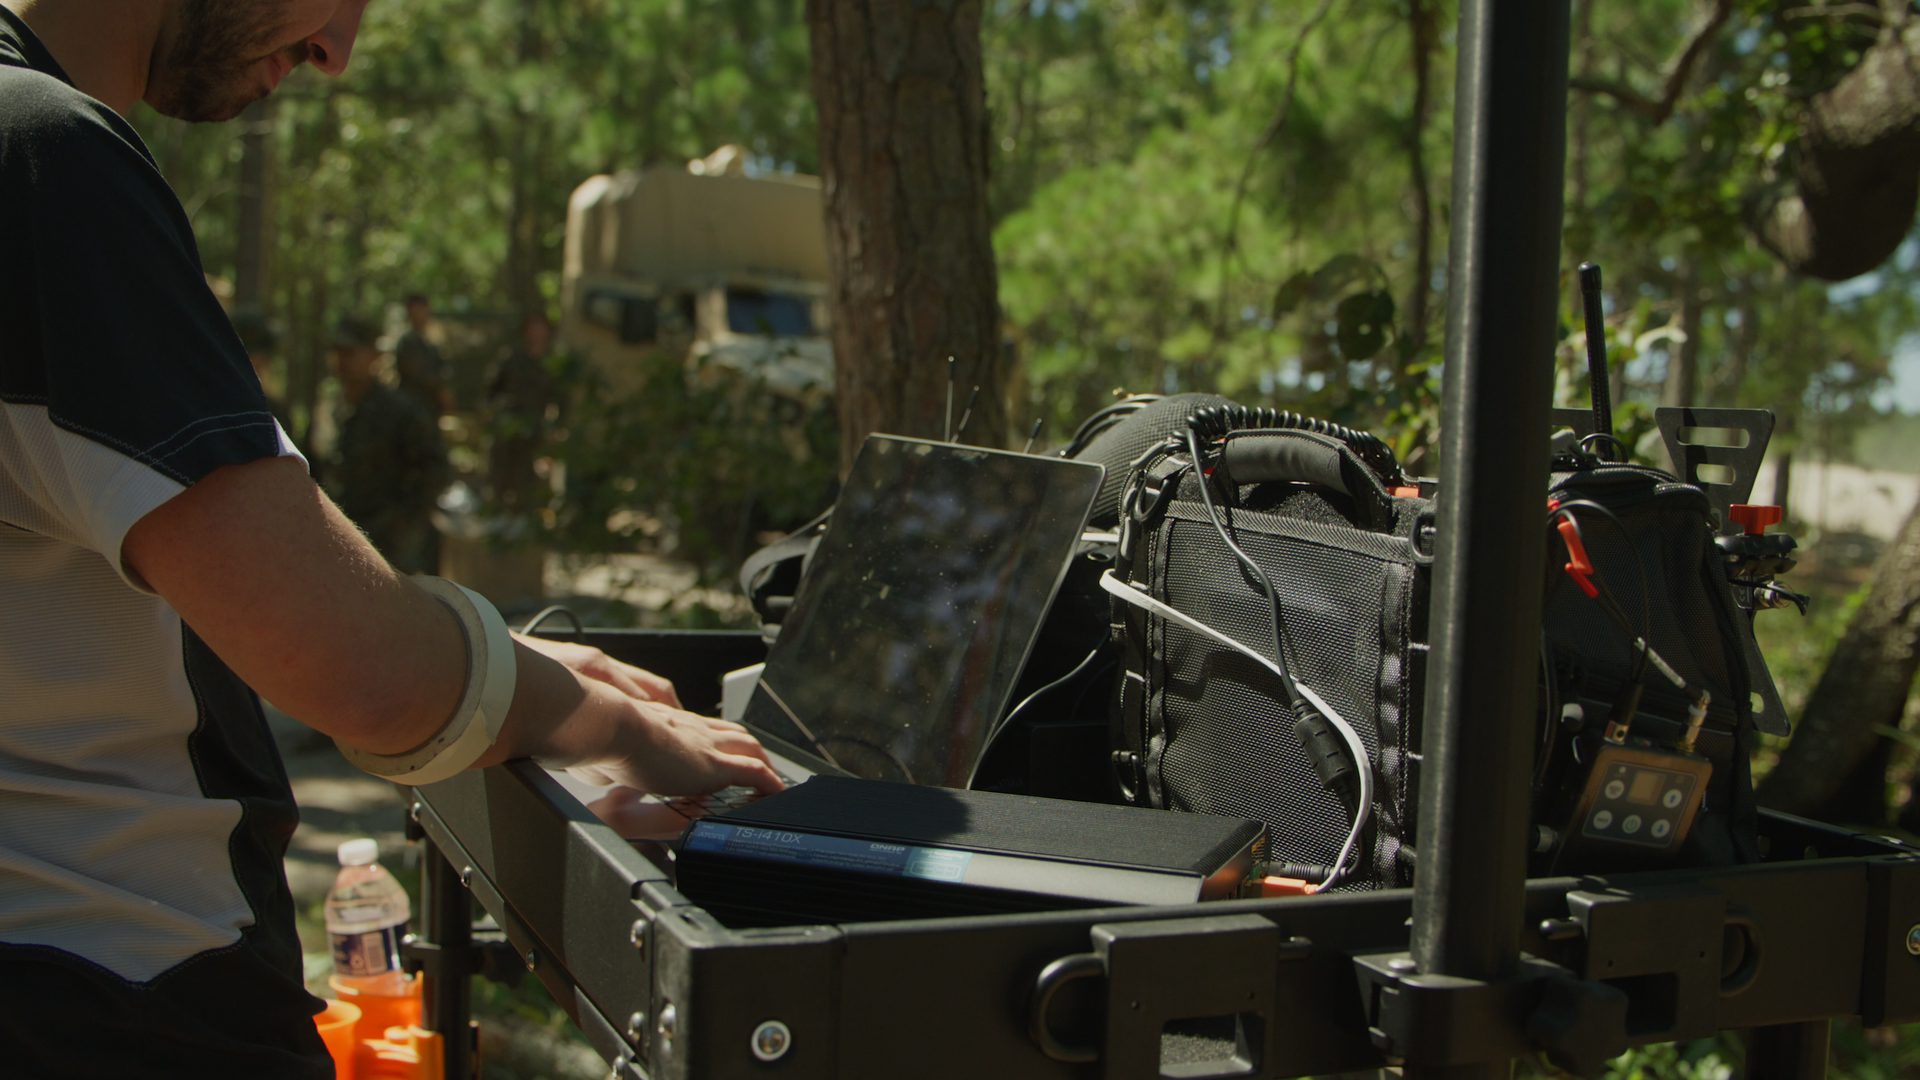
A quick note for fieldwork: the TBS-h574TX uses approximately 40 to 50 watts under typical load. This suggests it can be powered from bigger battery packs or inverters even when working off the grid.
I have used multiple QNAP NAS's successfully with an EcoFlow with zero issue.
Real-World Performance: Benchmarks and Actual Workflow
Benchmarks are helpful and all, but the true test for me is how the device functions in my video projects. Let's address numbers next before having a discussion of real world applications.
Benchmark Results
Based on testing done using a RAID5 array on 10GbE, my results show that using the Blackmagic Disk Speed Test, I was able to achieve write speeds of 1,050MB/s and 870MB/s in read speeds which essentially max out the 10G link. My results through Thunderbolt to my Mac were even better. I was able to achieve read and write speeds of 1.8-1.9GB/s which takes full advantage of the TB4 connection of 20Gbps.

As a point of reference, when using Thunderbolt, the speed mentioned enables transferring a 128GB camera card in slightly above a minute, while external drives take 20+ minutes temporarily transferring the data.
I was also impressed with the multi-client performance as they have exceeded my expectations. Two networked editors were able to simultaneously access 4K camera streams and I had no issues with NAS performance. In terms of mixed workloads, I estimate the aggregate throughput is above 2.5GB/s providing sufficient headroom for multiple users.
A detail Windows users need to pay close attention to is how Thunderbolt networking can be troublesome on Windows. On my workstation running Windows 11, Thunderbolt performance was only slightly better than what I got with 10GbE (approx. 1180MB/s write, 1015MB/s read).
On my Windows system with a Thunderbolt 3 add-on card, I noticed even more bizarre behavior: scorching fast writes (1650MB/s) and unbelievably low reads (110MB/s). This looks more like an issue with Windows and drivers, but Thunderbolt users will have a better experience with the NAS on Mac OS.
Actual Video Production Workflows
What about the actual video work? It definitely is changed more than you might think. The TBS-h574TX has been a game changer on commercial shoots. It has completely altered the workflow on set.
DIT Work and On-Site Card Copying
While I am the DIT, this NASbook is an absolute game changer. My workflow is set up as follows:
- The NAS in sitting on my cart, and connected to my MacBook Pro via Thunderbolt.
- The NAS also has a couple of CFexpress or SD ports at the front USB C port.
- Because of the NAS through put, I have the ability to ingest several cards at once.
- The footage is instantly protected in a RAID5 array.
Marking selects while in the process of copying the footage is possible, along with beginning some rough assembly on set.
In my last commercial shoot with two RED cameras, I was able to dump 128 GB cards into under a minute each and immediately make them accessible to the director for review. Once you become accustomed to it, the ability to instantly access footage becomes addicting.
Shuttle Drive Workflow
This is a simple workflow I've been using. I plug a NVMe enclosure via OWC into one of the thunderbolt ports. I preformat on the Mac as ExFat and then mirror the footage from the NAS to the drive.
It's error free and always up to date. Makes handing off to the editor or client a breeze.

Collaboration in a Smaller Group
My NASbook is now connected to our QNAP 10Gb ethernet switch in the studio or field, and I have multiple editors accessing the footage at the same time. Scrubbing through the 4k timelines is now responsive and the load times for all projects is up to working standards, unlike in the past where we were kept waiting due to the lagging SATA based NAS.
During our most recent documentary project, for example, we had three editors working at the same time on different segments using the same media pool stored on the NAS. The old setup would have stalled constantly, but with the TBS-h574TX everything was seamless.
Remote Location Work
The most remarkable use case, in my opinion, was using the NASbook during my week at sea with the Coast Guard. We didn’t have to manage numerous portable SSDs because the whole production’s storage fit in one device:
- Each Night After Work Setup In Our Hotel Room
- Daily footage ingest (around 1.5TB a day)
- Overnight proxy creation utilizing the NAS's processing power.
- Editors start cutting the next day.
- All RAID protected footage (no chance of losing a drive).
To sum up, everything I throw at it is handled, from RED RAW footage to multi-cam interviews. When trying to balance ingest and transcoding, the all-flash array makes a massive difference.
The Only Cause For Concern: Fan Noise

Let’s tackle the not-so-quiet NAS elephant:
This device does indeed have fans, and yes, they can be noisy. There are two 40mm fans for system cooling as well as a 70mm CPU fan, and out of the box, they are - not surprisingly - aggressive.
In my estimation, the fans are at an “idling” setting which I like to refer to as “mini jet engine” level – that is, it is definitely audible in quiet edit bays or sets. With default settings, I measured approximately 45-48dB with decibel meter at one foot when the system was under heavy load, default settings. This is roughly the level of ambient noise in most offices, but has a markedly distinct whooshing quality that is bound to prove distracting and make the on set audio guy hate you.
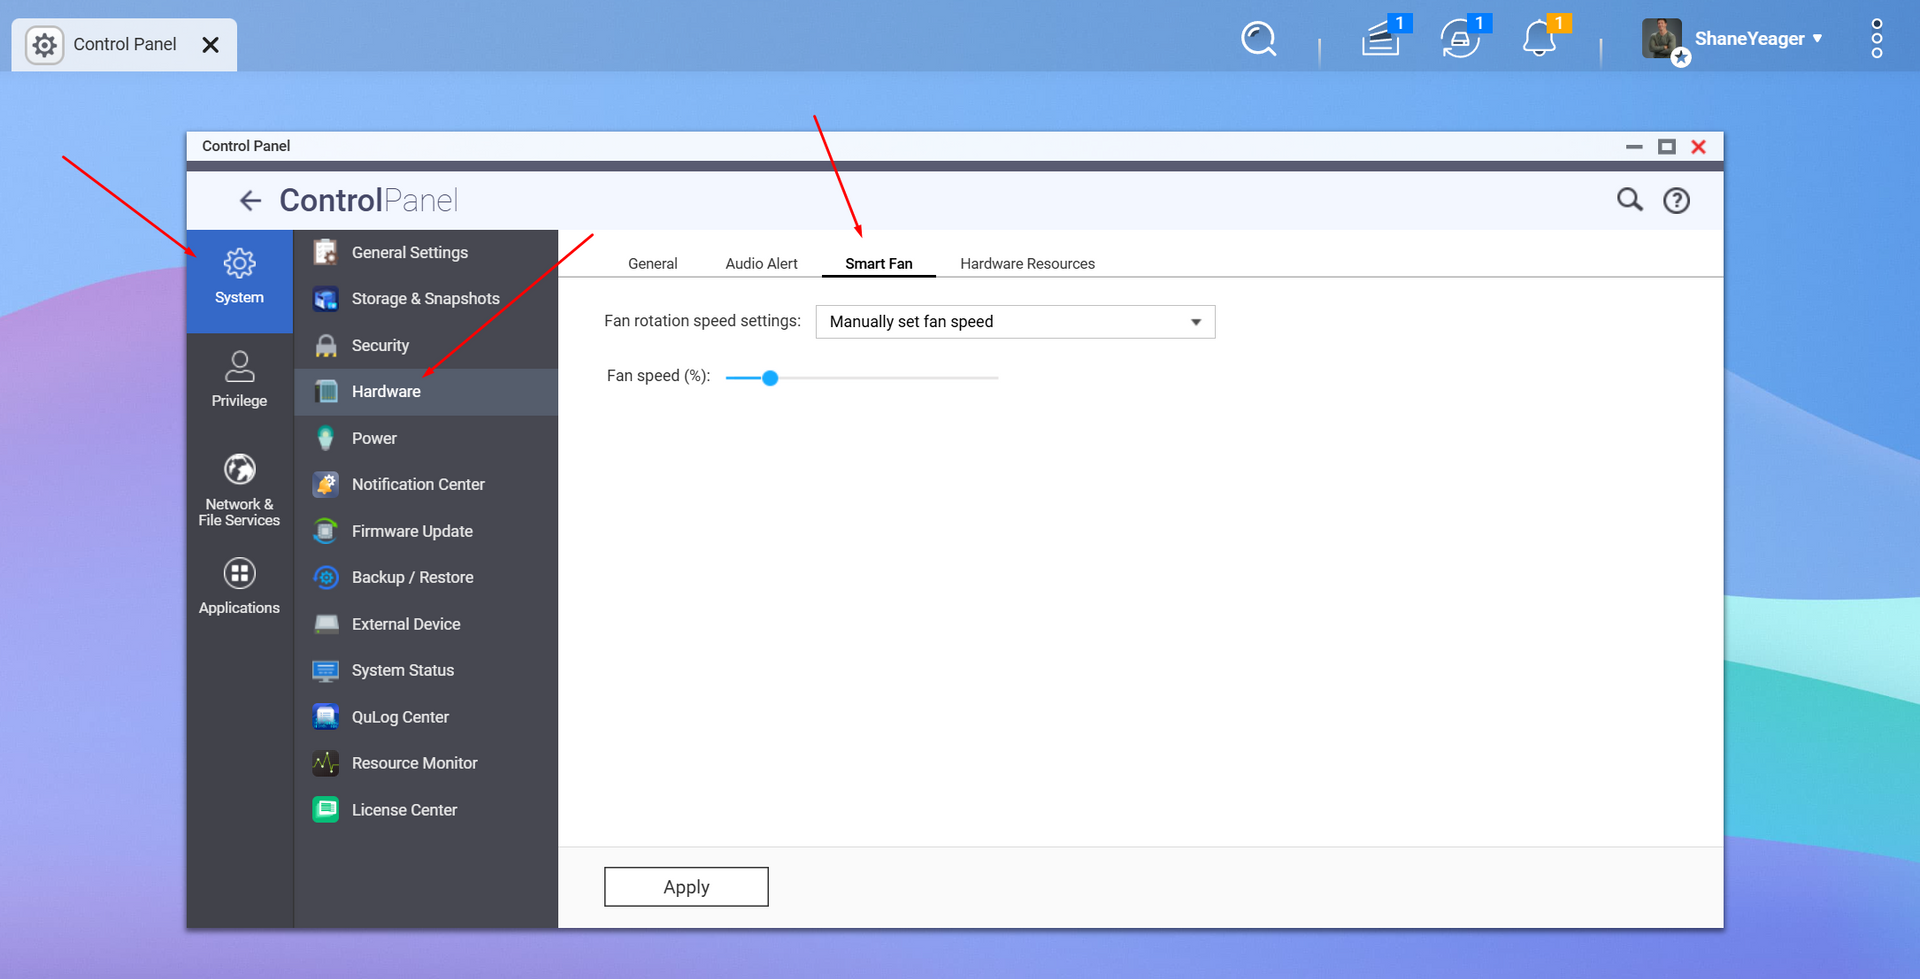
As a positive note, I discovered, after going into the settings, that adjusting fan speeds to roughly 20% permitted the system to remain silent while managing adequate airflow and temperature. At this setting, the fans operate at around 30dB or less, sometime not even engaged, which is indeed very quiet and only audible when no other noise is present.
It looks like the default fan settings in QNAP are a bit over-cautious. After some firmware tinkering, I found a good combination of cooling and noise. The QNAP control panel has the settings under "Hardware & Power" > "Fan Speed." I set all fans to “Manual” at 20% until the system reaches 55°C, then allow them to increase gradually.
With NVMe drives, heat management is crucial, so I've slapped on low-profile heatsinks to my SSDs (keeping them under 4.5mm height since that is QNAP's guidelines). These basic aluminum heatsinks with some thermal tape I bought for 10 bucks a set are helping my drive temps by about 10-15°C, which is a great improvement and cooling without overworking the fans.
In regards to other noise, one change is very useful:
The system has Thunderbolt devices connect/disconnect beeping enabled by default. You should change this right away from the settings, take my word on this one.
QNAP vs. DIY: Is It Worth the Premium?

Here’s the TBS-h574TX i5/16GB version comes at a price which is above $1,400 and does not include the SSDs. It’s pretty "expensive" as there are other options. You could build a more powerful mini-ITX system for the same amount.
So is there a reason to choose it?
In my opinion, its the form factor and integration which stands out. There is no DIY (I know of) out there that is as compact as this device. This device offers hot-swap NVMe, Thunderbolt, and 10GbE in a turnkey package. And for anything you docs product QuTS OS does with ZFS magic like checksums, snapshots, self-healing, etc., they defend your footage.
Let’s consider the case scenarios. If you completely fill this with 5 high end NVMe SSDs at 300-400 dollars which each 4 TB, then you will have a total approximate of 3,500 dollars. And yes, that is an investment, but once you have assessed the expenses of the lost footage and production delays, the expenses are worth it.
When you compare the OWC ThunderBay 8 with Thunderbolt, a comparable DAS will show cost savings other lacking the multi-user access, existing networking capabilities, and data protection that defines a true NAS. In comparison, professional SAN solutions designed for superior performance tend to cost significantly more, typically 5- 10 times the price, needing an empty rack space.
The value proposition heavily relies on your workflow. If you happen to be a one-man-band filmmaker who seldom shares files, this might be a waste. However, if you are like me and juggle location shoots, manage massive amounts of footage, and work with a small team, the time savings are worth the costs.
When clients are shelling out for crew hours on set, even saving a hour or 2 a day on data transfers means a lot.
Comparison: New TBS-h574TX vs The OG TS-i410X
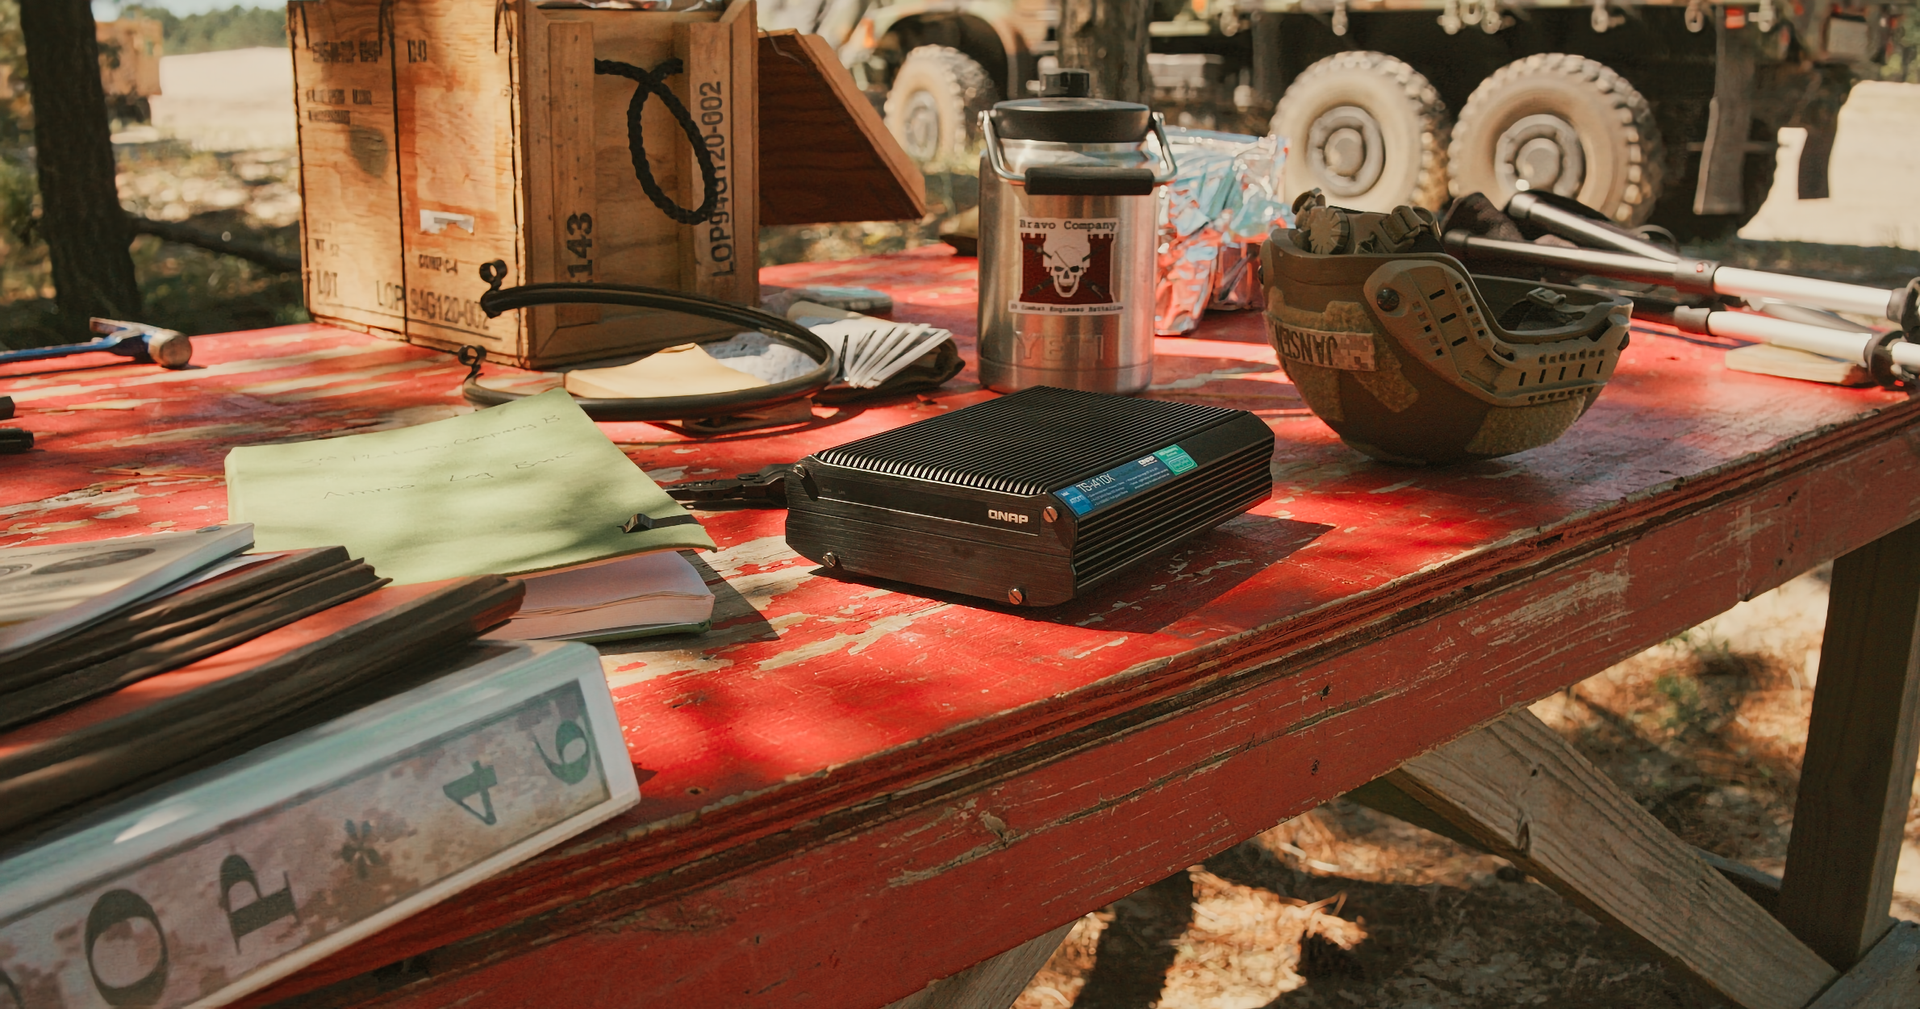
If you'd had a chance to look at QNAP’s previous portable NAS, you should remember the TS-i410X. That industrial-grade unit was constructed with extreme durability in mind—uses 100% metal, is completely fanless, and meant to withstand everything.
The new model TBS-h574TX seems to change quite a few things. It is different in a number of ways. Here is a detailed comparison:
Performance
TS-i410X:
8GB MiB RAM and an Intel Atom C3538 (4-core at ~2.1GHz) Predecessor, ~550MB/s per drive bottlenecked SATA SSDs.
TBS-h574TX:
16GB MiB RAM and an Intel Core i5-1340PE (12-core/16-thread) successor. NVMe SSDs top off at ~1.5GB/s a drive.
The gaps in performance between the arrays is quite noticeable. The old unit would peak out SATA III throughput (modest 550MB/s) with all drives working together, but would encounter problems when multiple users tried to access simultaneously under significant load, or any serious CPU tasks like transcoding. The new NASbook does these tasks effortlessly.
Connectivity
TS-i410X:
Dual 10GbE ports, but no Thunderbolt.
TBS-h574TX:
One 10GbE, one 2.5GbE, and dual Thunderbolt 4 ports.
I don’t like the loss of those dual 10G ports from the older model the more room the new model provides for link aggregation or redundancy provided by the TB4 on the front is a solid step backwards towards direct connections and Mac PCs.
Storage
TS-i410X:
Four 2.5" SATA bays, permanently affixed brackets but non-hot-swap.
TBS-h574TX:
Five M.2 NVMe slots (hot swappable).
Having the ability to hot-swap NVMe drives is a great step forward in efficiency and versatility. Being able to remove SSDs quickly and without tools is genuinely beneficial in real-world situations.
Durability
TS-i410X:
Military grade, fanless of -40°C to 70°C.
TBS-h574TX:
Consumer grade with active cooling, upper normal operating temperature range.
The i410X unit is practically indestructible, you could leave it in a hot car or freezing equipment van without worry. The new one could survive being dropped or bumped around is plenty durable for normal handling but isn't designed for extreme environments.
Noise Level
TS-i410X:
Completely silent (fanless)
TBS-h574TX:
From noticeable to loud depending on settings, noticeable fan noise.
This is where the new model has a mark against it. The TS-i410X was dead silent, making it seem perfect for sound sensitive environments like recording studios or quiet sets. The TBS-h574TX with fan tweak will never be completely silent.
In my opinion, for video production use cases, the performance leap, NVMe storage, and Thunderbolt this new NASbook has over its predecessor makes it a better tool, even considering the loud fans.
If, however, complete silence is vital to your workflow, you may want to explore other alternatives, or at the very least, devise clever methods for soundproofing the unit.
Bottom Line: Who Should Buy This?
Who is supposed to purchase this?
After weeks of real-world use, I can confidently recommend the TBS-h574TX to:
DITs and on-set media managers:
The speed and portability of this device along with its multiple high-speed ports ensures effortless footage management during production. Capturing, copying, and making the footage ready for directors, producers, and clients simultaneously.
Small post-production teams (2-5 people):
This is the perfect post-production team shared storage solution for small teams with no rack space and IT support. Performance during simultaneous use by several editors on many ongoing projects is more than sufficient.
Traveling content creators:
If editing at the filming location or taking the storage unit to the clients is your style, then this device will make life easier for you. There’s no need for an intricate arrangement of multiple drives and time-consuming transfers.
Solo filmmakers who hate waiting & need reliability from a single storage unit:
For these types of users, working alone, the efficiency gains associated with reduced transfer times, direct NAS access, and editing on the NAS may justify the expense.
Which other groups would look elsewhere?
If you need near-silence, over five hard disk drive slots, or cost savings instead of value, you are better served elsewhere. This is a tool for time conscious reliable professionals who appreciate portability.

Last Words
Of all the NAS products I have come across, the QNAP TBS-h574TX-I5 NASbook is one of a kind and a product line I'm sure QNAP will continue to improve and develop.
The product is expensive and does come with 'first-gen quirks' like fan noise and PCIe stems, but the overwhelming benefits NVMe performance alongside super portable Thunderbolt connectivity for video professionals completely changes the landscape.
In comparison to everything else, this devices gives you peace of mind you wont lose footage, have plenty of room for your project or multiple, and have the ability to work from the device itself.
The TBS-h574TX might very well be the answer for you if you are tired of dealing with the hassle of portable drives and waiting on file transfers. Just remember to set those fan settings the correct way on day one and you will be all good.
If you didn't get enough information on this NAS, consider watching the most educated NAS reviewer on YouTube, Rob with NAS Compares. What a great video!

Get total clarity on your video marketing and paid media with our FREE comprehensive data audit.
CINESALON NEWS
POPULAR POSTS
Like what you read?
Interested in having video do more for you? Give us a shout on the form or book a call.
We make your complex ideas simple to everyone else.
Do video marketing
better.
Hire the experts at CineSalon.
Quick Nav
Company
Locations
Case Studies
Services
All Rights Reserved | CineSalon

