Producing video content is now a fundamental aspect of the digital realm. Regardless of your role as a YouTuber, filmmaker, or entrepreneur, it is essential to craft visually appealing videos to captivate your audience successfully. While the significance of visual elements is undeniable, the often-overlooked factor of audio quality holds the power to either enhance or jeopardize the impact of your video. In this comprehensive guide, we will explore why cleaning up audio for your videos is essential and delve into common audio noise that can hinder your content.
Editing and Post-Production
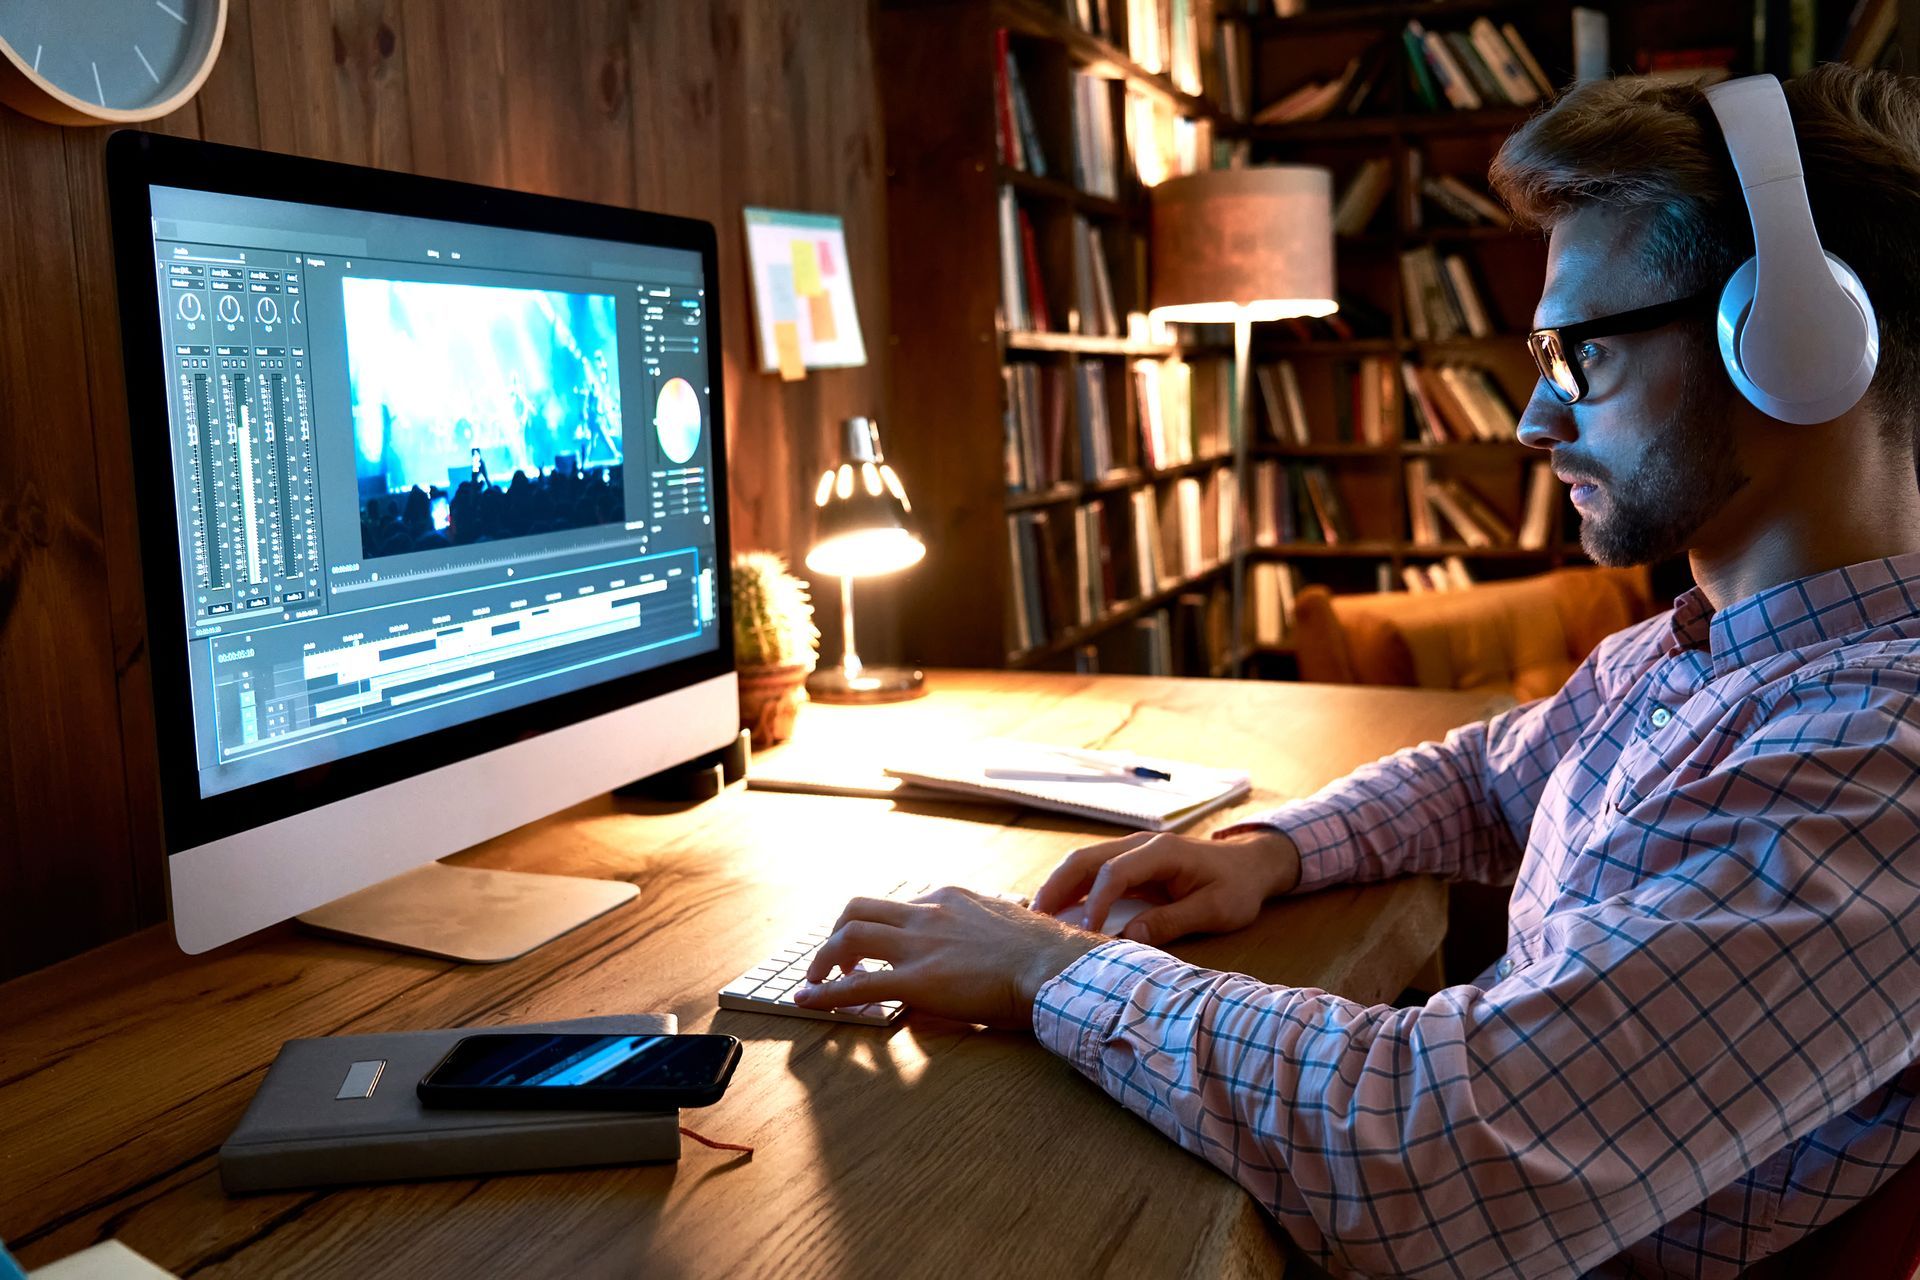
Here's a detailed, step-by-step guide to the editing and post-production process:
Importing audio into editing software
Initiate the audio editing software of your preference, whether it's Adobe Audition, Logic Pro X, or Audacity. Subsequently, connect your computer and the audio interface or recording device.
• Create a new project in your editing software.
• Import your audio files into the project.
• Cleaning up audio tracks
• Removing background noise
• Identify the type of background noise (hiss, hum, clicks, etc.).
• Use noise reduction tools in your editing software to remove the noise.
• Apply noise reduction sparingly, as it can also affect the desired audio quality.
Equalization and compression
• Equalization (EQ) adjusts the frequency balance of the audio.
• Use EQ to boost or cut specific frequency ranges to enhance the sound.
• Reduction reduces the dynamic range of the audio, making the softer parts louder and the louder parts smoother.
• Apply compression subtly to avoid over-processing.
Adding music and sound effects
Choose music and sound effects complement your project's overall mood and tone. Incorporate your music and sound effects files into the editing software. Arrange these elements in the timeline, ensuring alignment with the video or audio cues. Fine-tune the volume levels and apply fade-in/fade-out effects to the music and sound effects for a seamless transition.
Syncing audio with video
If you're working with video, ensure your audio is synchronized with the visual elements.
Use visual cues in the video to align the audio precisely.
Adjust the audio timing as needed to match the video.
Exporting and saving high-quality audio
Select the suitable audio format for your project, such as. WAV, MP3, AIFF, and the like. Adjust the export quality settings to align with your desired audio quality standards. Export the audio file and save it in a designated location.
Why is it important to clean up audio for video?
Being a content creator involves merging creativity with technical finesse. It goes beyond capturing visually striking shots; it requires ensuring that the auditory experience complements the visual one. Here's why prioritizing the cleanup of audio in your videos is crucial in the content creation process:
Professionalism
Clean audio is the hallmark of professional content. It marks the distinction between a video resembling a home project and one that stands out as a high-quality production. Subpar audio quality has the potential to be distracting, leading viewers to lose interest.
In the highly competitive world of online content, clean audio is a powerful tool for setting your videos apart. It signals that you've invested time and effort into your content, making it more appealing to viewers and potential collaborators.
Message Clarity
In the video, storytelling is king. Your message, narrative, and emotional impact rely heavily on the audio component. Clean audio helps ensure that your message is conveyed clearly and effectively, enhancing the overall effect of your video.
Viewer Experience
A video is not just about visual aesthetics; it's about creating a holistic viewer experience. Clean audio allows your audience to immerse themselves in the content without being distracted by unwanted noise or disruptions.
What are the common types of audio noise?
Audio noise comes in various forms, each with its unique challenges. To create genuinely professional videos, you need to be familiar with the common types of audio noise that can compromise your content:
Background Noise
Background noise is any sound not part of the primary audio signal. It can include ambient noises like traffic, HVAC systems, or people talking in the background. The most inconspicuous background noise can disrupt the quality of your video.
Wind Noise
If you've ever been outdoors with a microphone, chances are you've experienced wind noise—a high-pitched whistling sound resulting from the wind blowing over the microphone. Eliminating wind noise can be incredibly challenging, but preserving audio clarity in outdoor settings is imperative.
Plosives
Plosives, such as "p," "b," and "t," are characterized by their distinct and sharp consonant sounds. When pronounced too close to a microphone, they can cause distortion and unpleasant audio. Plosives are a common challenge for voice recordings, interviews, and podcasts.
Clipping
Audio distortion, known as clipping, arises from an excessively loud audio signal. This issue manifests when the microphone input level is excessively elevated, or a sudden loud sound disrupts the recording. The consequence of clipping is a notable degradation in audio quality, posing difficulties in post-production efforts to rectify the distortion.
How to remove background noise
Cleaning up audio for video involves tackling background noise effectively. You have various methods at your disposal, and we'll delve into two of the most frequently employed techniques by professionals:
Noise Reduction Filters
To eliminate background noise, noise reduction filters are one of the simplest methods. These filters are typically present in the majority of video editing software programs. Here's a guide on their utilization:
a. Select the audio clip that requires cleanup in your video editing software.
b. Apply the noise reduction filter to the selected clip. The filter will analyze the audio and attempt to remove the background noise.
Noise reduction filters are designed to detect and remove the unwanted sounds often accompanying your primary audio signal. Employing this approach can be highly efficacious in eliminating background noise and enhancing the overall quality of your audio.
Noise Gates
Another potent tool for eradicating background noise is the noise gate. A noise gate is a device that allows you to set a threshold for the audio signal. Any audio signal falling below this threshold is effectively muted, eliminating unwanted noise. Here's how to use a noise gate:
a. Set the threshold level just below the volume of the background noise in your audio clip.
b. The noise gate will silence any audio signals below this threshold. The background noise will be muted while the primary audio signal remains intact.
Noise gates are handy for intermittent background noise, such as bursts of traffic noise or sporadic chatter. You can effectively remove these interruptions by setting the threshold carefully without affecting the main audio.
Both noise reduction filters and noise gates effectively remove background noise from your video's audio. The choice of method will depend on the specific nature of the noise and the tools available in your video editing software.
How to reduce wind noise
New Paragraph
Dealing with wind noise is a common challenge, especially when recording outdoors. To mitigate this problem, contemplate the following approaches:
1. Deadcat or Windscreen
Employing a dead cat or a windscreen is one of the most effective methods to diminish wind noise effectively. A dead cat is a furry cover that fits over your microphone and acts as a shield against wind interference. On the other hand, a windshield is typically made of foam or mesh and fits over the microphone to reduce wind noise.
Using a Deadcat
Attach the dead cat over your microphone, ensuring it covers its sensitive area. This furry cover disrupts the airflow, reducing wind noise and delivering cleaner audio.
Using a Windscreen
If you don't have a dead cat, a windscreen can be a practical alternative. Slip it over your microphone, serving as a buffer to minimize wind noise interference.
2. Positioning
If a dead cat or windscreen is unavailable, consider adjusting the microphone's position to reduce wind noise. Aim to position the microphone so that it's shielded from the direct path of the wind. Recording in a sheltered location can also help reduce the impact of wind on your audio quality.
3. How to reduce plosives
Plosives, those sharp consonant sounds, can be a nuisance in audio recordings. To mitigate them, consider the following methods:
Pop Filter
A pop filter is a mesh screen that covers your microphone and is a buffer against plosives. This is one of the most effective tools for reducing plosives in your audio. Attach the pop filter in front of your microphone, ensuring it covers the area where your breath and voice directly hit the microphone. The mesh screen diffuses the air pressure, reducing the impact of plosives.
Microphone Positioning
Adjust the microphone's positioning if a pop filter is unavailable. Place the microphone slightly off-axis to your mouth, aiming to capture your voice without the full impact of plosives. Additionally, speaking more softly can also help minimize plosives. Clipping, or audio distortion due to excessive volume, can ruin an otherwise great recording.
4. Limiter
A limiter is a valuable tool that prevents audio signals from exceeding a certain level, effectively mitigating clipping. Set the limiter's threshold to a level just below where clipping occurs. This ensures that the audio signal is restricted from reaching levels that cause distortion. The primary audio signal remains intact while clipping is prevented.
How to improve the overall sound quality of your audio
Creating exceptional sound-quality videos requires attention to detail and a combination of various elements. Here are some tips to help you elevate your audio game:
1. Use a High-Quality Microphone
The choice of microphone significantly influences the audio quality you achieve. Opting for a high-quality microphone can substantially enhance the clarity and richness of your sound. When selecting a microphone, tailor your choice to your unique recording requirements. Dynamic microphones excel in on-the-go recording situations, whereas condenser microphones prove optimal for capturing vocals and intricate sounds.
2. Record in a Quiet Room
The quality of your audio can swiftly be jeopardized by background noise. To achieve clean and professional sound, choose a quiet recording environment. Opti for a room with minimal ambient noise and soundproofing. If possible, use acoustic treatment materials to reduce echoes and reverberations.
3. Speak Clearly and at a Moderate Pace
Your enunciation and pacing significantly affect the comprehensibility of your audio. Refrain from mumbling, speaking too quickly, or dragging your words. Clear and measured speech enhances the overall listening experience.
4. Editing Your Audio
Following the audio recording, employ video editing software to refine your sound. This procedure can markedly improve the audio quality. Video editing software programs offer various tools for audio enhancement. You can remove mistakes, adjust audio levels, apply filters, and add effects to improve your audio quality.
Tips for getting the best results
1. Use a Reference Track
A reference track serves as a benchmark for exceptional sound quality. By comparing your audio to a reference track, you can identify areas for improvement and strive for optimal audio quality in your videos
2. Listen on Different Devices
Audio perception can vary significantly between devices. Listen to it on different devices such as headphones, speakers, and laptops to ensure your audio translates well across various platforms. This diverse listening approach helps identify potential issues that may arise when your audience listens on other devices.
3. Seek Feedback
Do not hesitate to solicit feedback from others. Once content with your audio, invite someone else to listen and offer their insights. Fresh ears can pinpoint nuances and areas you might have missed for improvement.
Additional Resources
1. Audacity
Audacity stands out as a free and open-source audio editing software program renowned for its versatility and user-friendly interface. Its array of features for cleaning up audio makes it a favored choice among content creators.
2. Adobe Audition
Adobe Audition is a premium software program for editing that offers a range of features for cleaning up audio in video production. With advanced features and seamless integration with other Adobe products, it is a powerful choice for professionals.
3. Hindenburg Journalist
Hindenburg Journalist is a specialized audio editing software designed for journalists and podcasters. Tailored with intuitive features catering to the specific needs of audio storytellers, it proves to be an excellent choice for individuals concentrated on narrative-driven content.
Conclusion
In the realm of video production, pristine audio is an absolute necessity. By implementing the strategies delineated in this guide—such as eliminating background noise, minimizing wind interference, rectifying clipping, and elevating overall sound quality—you'll be poised to craft videos that enthrall and involve your audience. Proficiency in audio production demands practice and a discerning ear. Continuously delve into novel techniques, welcome feedback, and experiment with diverse tools to hone your skills. Through unwavering dedication and meticulous attention, you can consistently present videos with exceptional sound quality, amplifying the impact of your content and leaving a lasting impression on your viewers.

Get total clarity on your video marketing and paid media with our FREE comprehensive data audit.
CINESALON NEWS