How To Change The Resolution of a Video

Clarity and detail in a video are some things that affect the quality of a video. It’s as if you were changing the photo quality on your phone for videos. Video resolution is important because it determines how sharp or clear a video may look, especially when shared online. This blog will examine what video resolution means, its significance, and possible ways to change the resolution of a video using different tools and techniques.
Importance of Video Resolution in Different Cases
Improved Viewer’s Experience
The high-resolution effect on videos makes them look more detailed, thus making them enjoyable when viewed on video social media platforms or any other platform. That way, viewers become actively involved in discussions about content.
Professional Look
High-definition videos tend to appear corporate. Thus, good-quality content drives up the reputation of your content regardless of whether it goes on Instagram, YouTube Platforms, or TikTok, amongst other low-quality content.
Compatibility with Devices
Screen sizes and resolutions vary with different devices. If you understand video resolution, you can ensure your videos look nice on smartphones, tablets, computers, and TVs. This helps reach a broader audience who will easily find your content.
Optimizing for Platforms
Social media platforms like Instagram, Facebook, and Snapchat have specific requirements concerning the quality of image resolutions used in this case. Since you can change the resolutions for your recordings once you learn how to do it well, you may tailor your content to those platforms only, increasing engagement.
Brand Image
Business images rely heavily on rich visuals from high-resolution videos. In addition to attracting consumers, high-quality films lead to large numbers of subscribers; hence, more sales volumes accumulate over time. A solid online presence is necessary to develop and impact the viewership.
Understanding Video Resolution and Aspect Ratio
Video Resolution means the amount of pixels in an image in a video. This also means it is what determines the clarity of the video. Higher-resolution videos have more pixels. This is why they are more accurate and detailed.
The most used resolutions are:
- 1080p (Full HD)
- 720p (HD)
- 4K (Ultra HD)
Besides, it is usually quoted as horizontal by vertical pixel numbers such as 1920x1080 Full HD.
Higher resolutions usually mean better quality, but factors like bitrate or file size, compression method, and source material determine how good a video looks. Finding a balance between resolution and other quality aspects can result in videos with good visuals.
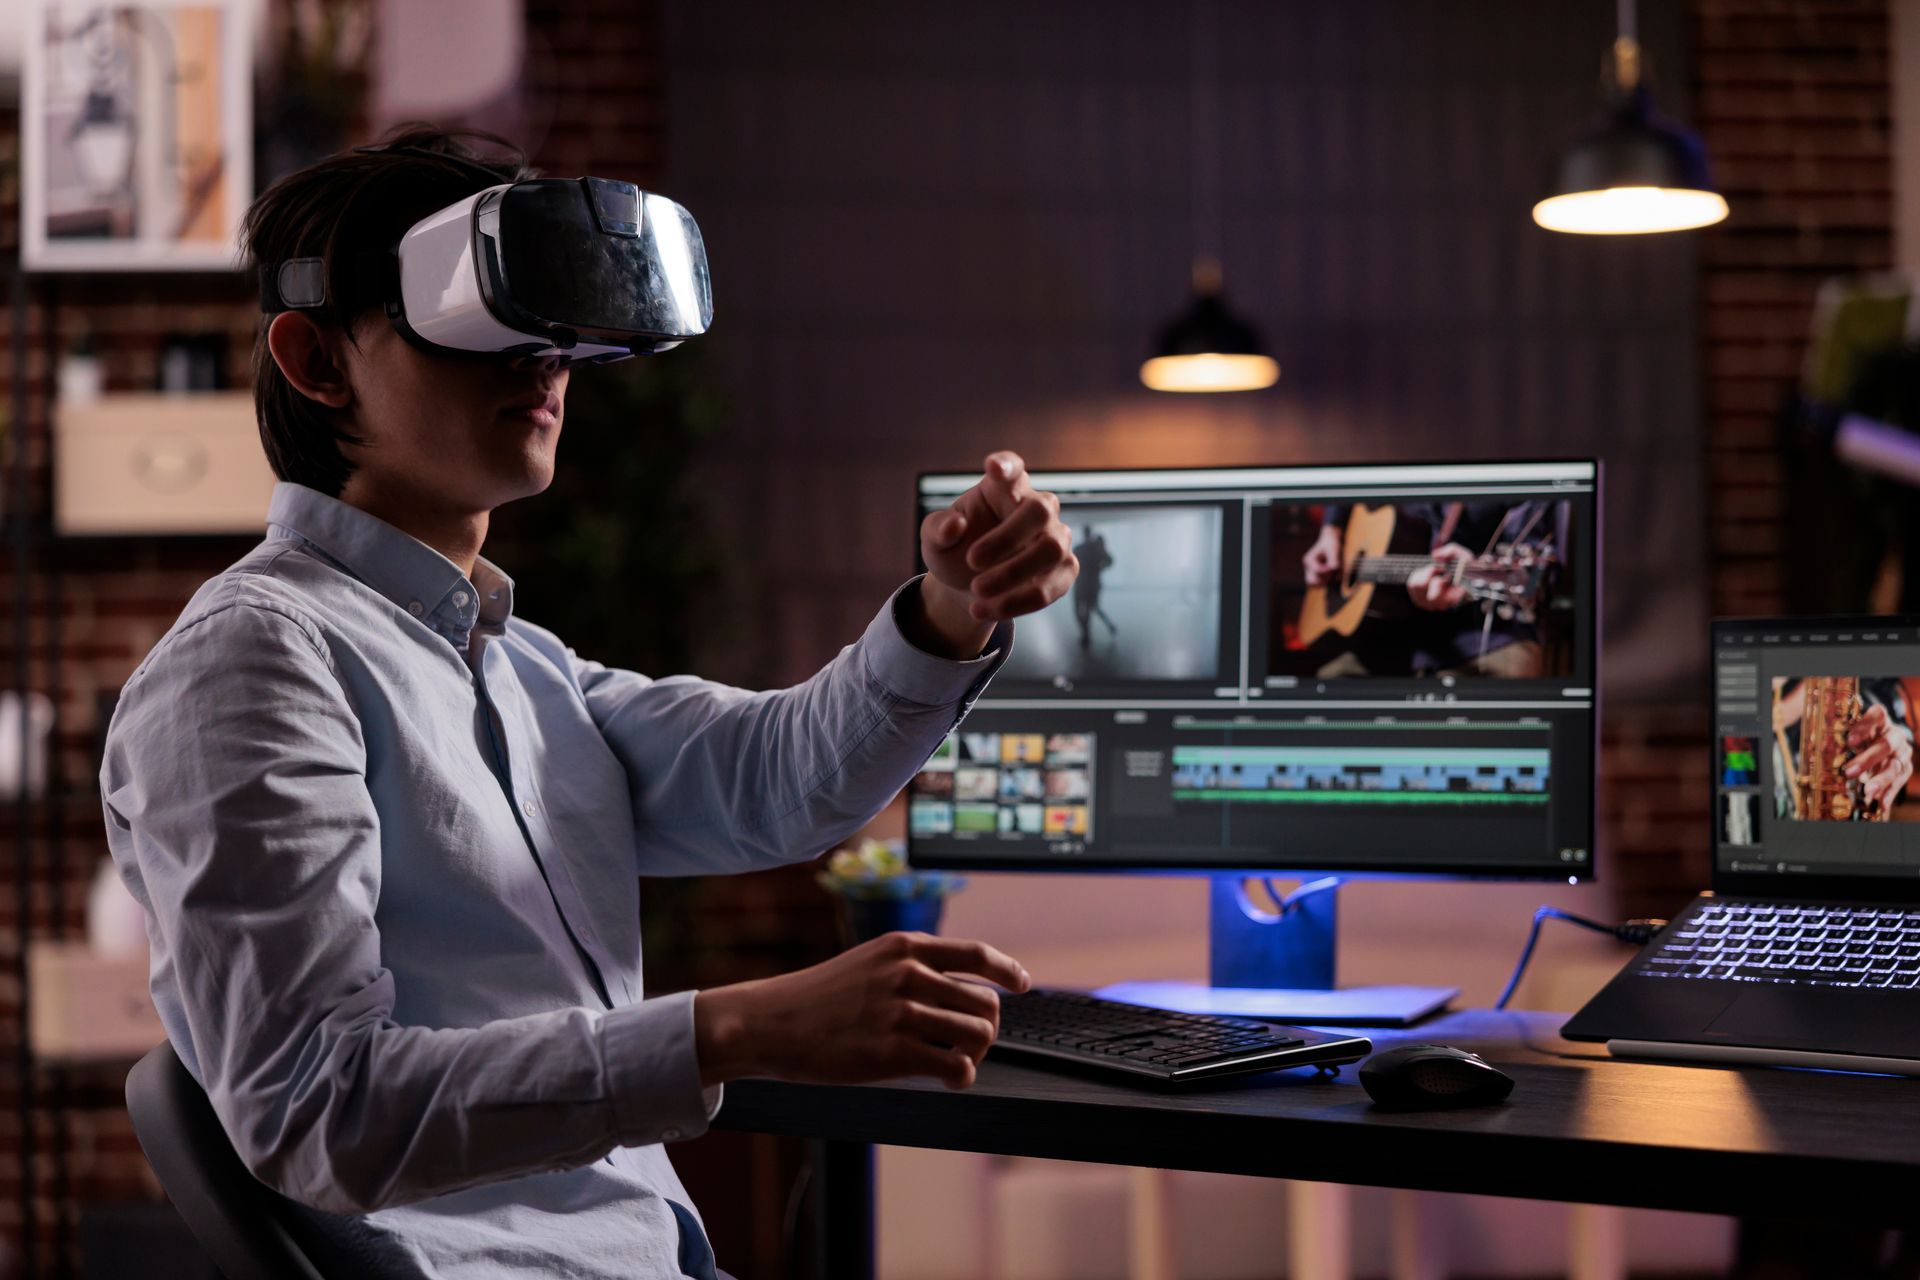
Differences Between Resolution And Aspect Ratio
Resolution
The number of pixels in a movie or video frame. For this reason, its spatial clarity is so high, and its resolution is significant. Using numerous pixels results in much higher details being shown on these recordings. Such aspect ratios use pixel measurements, for example, 1080 x 1920 vertical video.
Aspect Ratio
It is based on the width and height of the video frame that defines its shape, from widescreen to regular format, with aspect ratios ranging from 16:9 to 4:3, commonly known as standard format. These aren’t meant to show us some number of pixels, but they show us what proportion frames fit into film cameras.
Resolution Vs. Aspect Ratio
Resolution is different from aspect ratio; an aspect ratio relates to how one sees those pixels, while resolution refers to how many are within each video frame. However, this will seem more significant compared to an image with a resolution of 1920×1080 but an aspect ratio of 4:3.
The Relationship between Resolution and Displaying
Different displays can have different video resolutions, affecting quality. For example, high-resolution videos will look best on screens designed for high resolutions; however, low-resolution videos may need to be more apparent. So, before you start video production, think about your display’s resolution and screen size before pressing that capture key.
Aspect Ratio and Compatibility
Another concern may be compatibility with various platforms and devices regarding video aspect ratios. A 4:3 video would not fit properly into a device whose native aspect ratio is 16:9. Knowing what an aspect ratio entails makes other devices use your clips well or other videos platforms easily compatible.
Common Video Resolutions and Aspect Ratios
1080p (Full HD)
Full HD is one of the most commonly used video resolutions available today. It measures 1920 x 1080 pixels, giving out sharp images and making it ideal for streaming gaming and professional video production.
720p (HD)
This one is called HD or High definition and contains 1280 horizontal pixels by 720 vertical pixels scales. This is fewer pixels than in 1080p but is still a good balance between the file size and quality, hence commonly used on online video-sharing platforms.
4K (Ultra HD)
Ultra HD is sometimes referred to by another name, K, which has a higher resolution than an HD video, thus this time using 3840 horizontal and 2160 vertical pixels. It provides real-life-like images than the 1080p resolution, which has a four times larger pixel density. It is found on high-end streaming platforms and in professional video production.
16:9 Aspect Ratio (Widescreen)
Most modern widescreen displays have an aspect ratio of 16:9, implying that they are around one point seven-eight broader than how tall they are. Therefore, it affords a cinema-like experience for movies and games with the most up-to-date televisions, computer screens, and mobiles employing this aspect ratio.
9:16 Aspect Ratio (Portrait)
This aspect ratio is best suited for vertical videos that people usually watch on small screens like mobile phones rather than TV sets. Such an aspect ratio will enable you to create content that looks like a portrait since it goes well with mobile phones.
How to Change the Resolution of a Video using VEED
Uploading the Video
To change a video’s resolution through VEED, upload your desired resized video onto the VEED platform. You can do this by clicking the “Upload Video” button and selecting any video from your PC or device. Moreover, VEED allows resizing videos in multiple formats.
Setting the Required Resolution
After uploading your video, you can select the resolution you want. VEED allows resolutions like 1080p or 720p to be selected or even created independently. The proper resolution is essential for your video to look clear and sharp.
Video Configuration
After choosing your desired resolution, you may need to configure the video to fit perfectly into the new dimensions. VEED offers tools for cropping, resizing, and repositioning elements within a frame of your video. This stage ensures that crucial content will be recovered in a given resolution while making the video look good.
Preview and Save
Finally, preview how your resized video will look with a new resolution when all required changes have been made. When contented with such modifications, save your resized videos into the format of choice and the preferred resolution. Veed helps save and download a resized video to be shared or edited further.
Exporting Resized Videos
Export our newly sized movie from VEED using the provided settings. After processing this, it becomes a different-revolution piece for social media sites and websites.
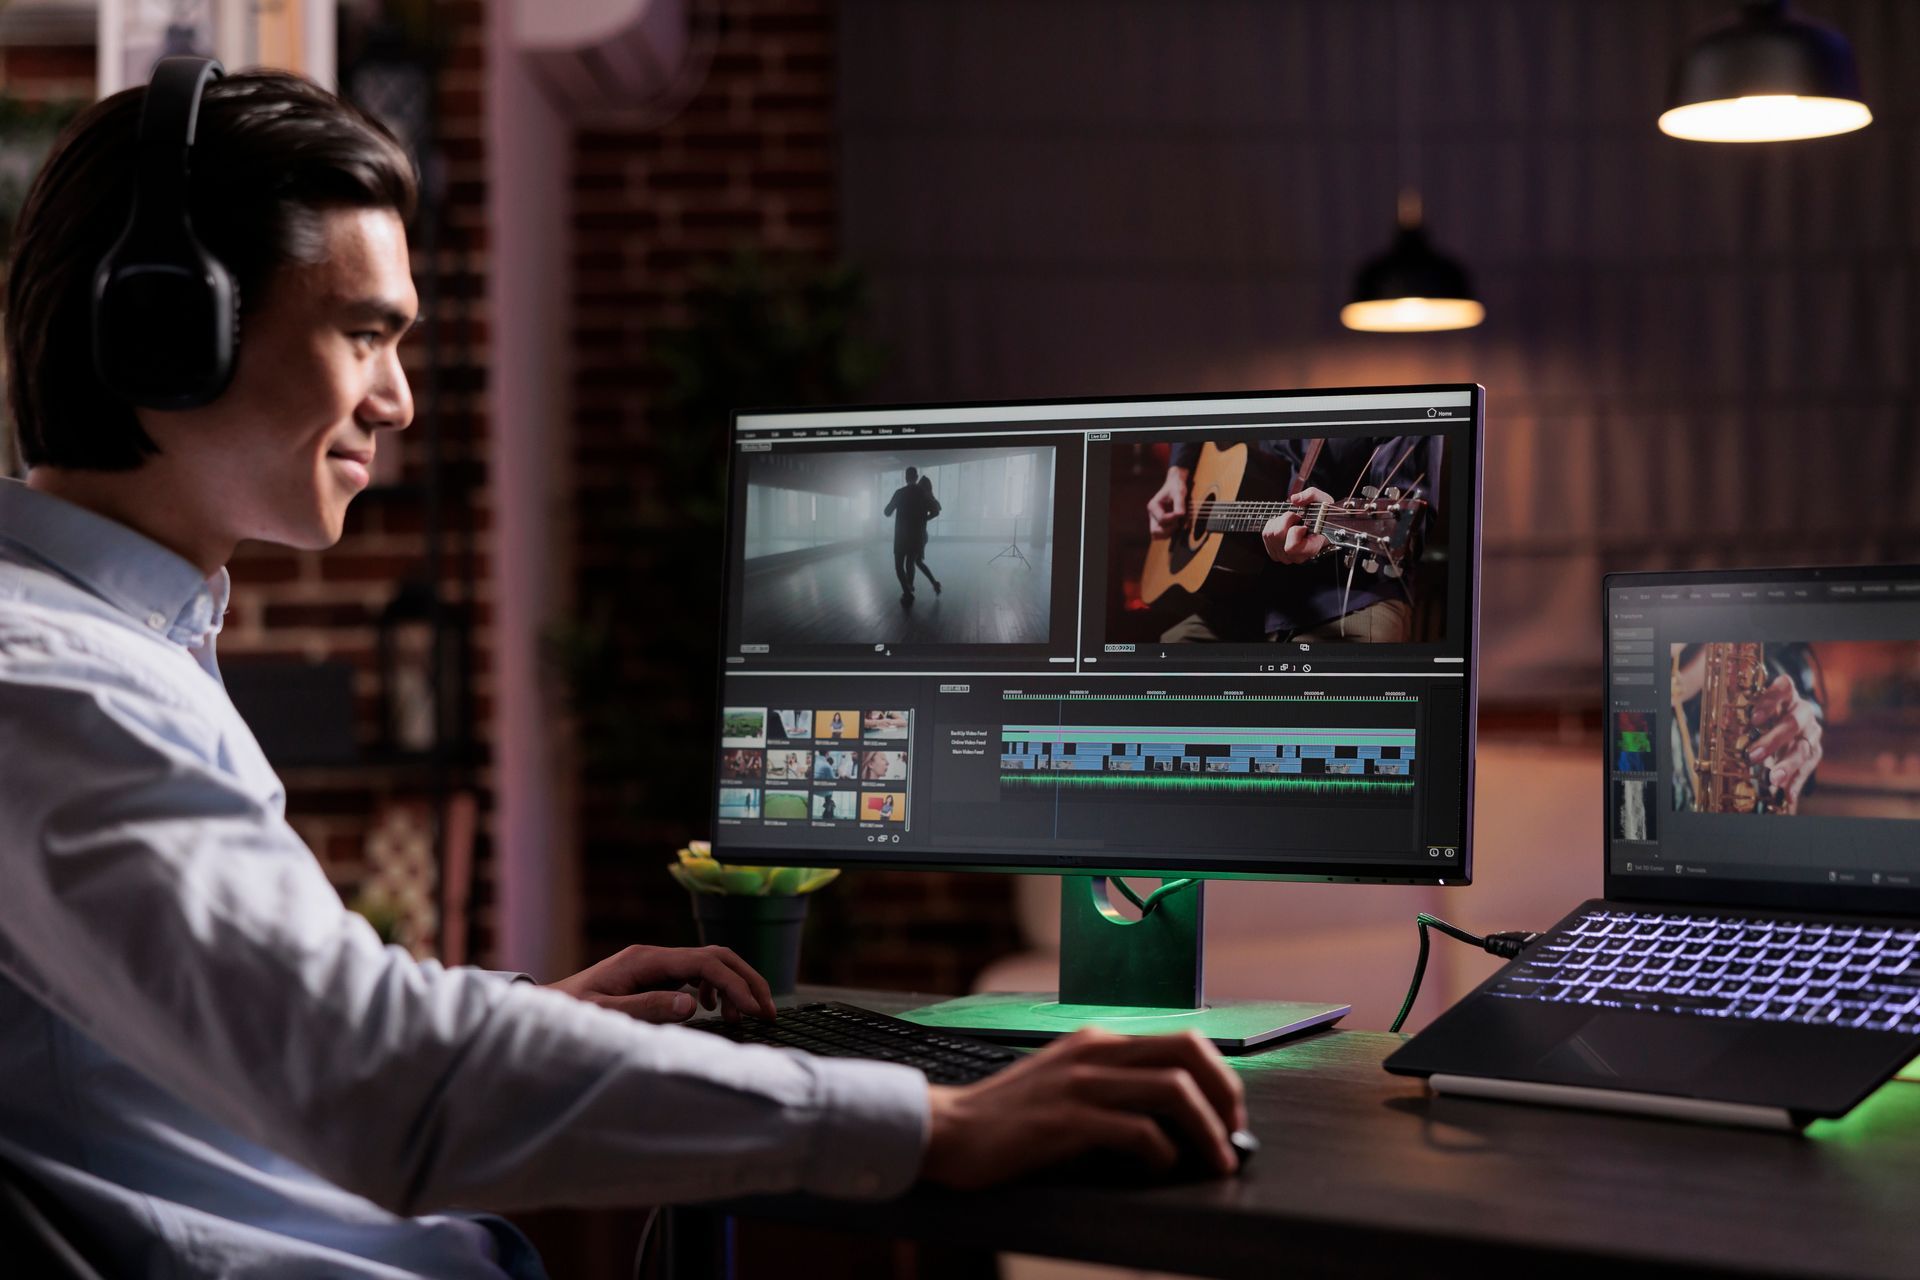
How to Change the Resolution of a Video Using Adobe Premiere Pro
Import Your Video
To do this in an Adobe Premiere Pro software application, import re-scalable files into the project. For this operation, click “ File ” on the menu bar, then select “ Import,” which opens up some files containing videos inside computer storage devices.
Create a New Sequence
After importing the video, make another sequence that contains the desired resolution details. Go to File and choose New>Sequence. For your preference, modify expected output parameters inside the sequence setting window, such as screen size and frame rate.
Adjust Video Settings
In Adobe Premiere Pro, drag and drop your imported video into the timeline. Sometimes, you may need to adjust the scale or position of this video to fit within the new resolution. This is done by selecting a video clip from the timeline and then using controls in the program monitor to allow resize or move options.
Exporting
It should be exported once resizing has been completed on the screen to its original size. Check “File” at the menu bar and click “Export”. Set different resolutions at the export settings window with other relevant options like bit rate, among others, before exporting resized videos.
Quality Control
Before finishing a resized copy of any project within Adobe Premiere Pro and previewing it, we need to confirm that everything appears as intended when there are no reduced pixels per inch. Consequently, play through your video, checking for further adjustments due to resolution or quality issues.
Save Your Project
Ensure you save your newly sized movie as a project in Adobe Premiere Pro for future edits or modifications. Changing later can be quickly done by keeping your project file as backup material.

How to Change the Resolution of a Video Using Final Cut Pro
Video Importation
Add a video in the Final Cut Pro application to which you would like to change its resolution. Go to File on the top menu bar, click Import, and choose the right video from your files.
Initiating a New Project
After importing the video, ensure you create a new project at the desired resolution. Select New from File, then click on Project. In this window of his project setting, you should adjust these features, such as display dimensions, etc., according to which output resolution you prefer.
Video Adjustment Settings
Drop your imported video in the FCP 6 or X timeline. Scale and position each video to fit nicely into their respective resolutions. Resize any movie correctly; otherwise, letterbox bars may appear.
Recording
Export the resized videos once they have been adjusted for new resolutions in Final Cut Pro. Select File, Share from its menu, and choose a suitable format for your movie. The output quality (or bitrate) is also specified here.
Quality Assurance Check
Don’t forget to preview your newly edited film within Final Cut Pro before finalizing it so it looks as planned. Play through it also if further adjustments concerning pixelation loss are caused by resizing problems that might be considered.
Saving Your Project
If you need future editions or alterations, save your resized video as a project in the Final Cut Pro application. Using your project file, you can easily make changes later, keeping one as a backup.
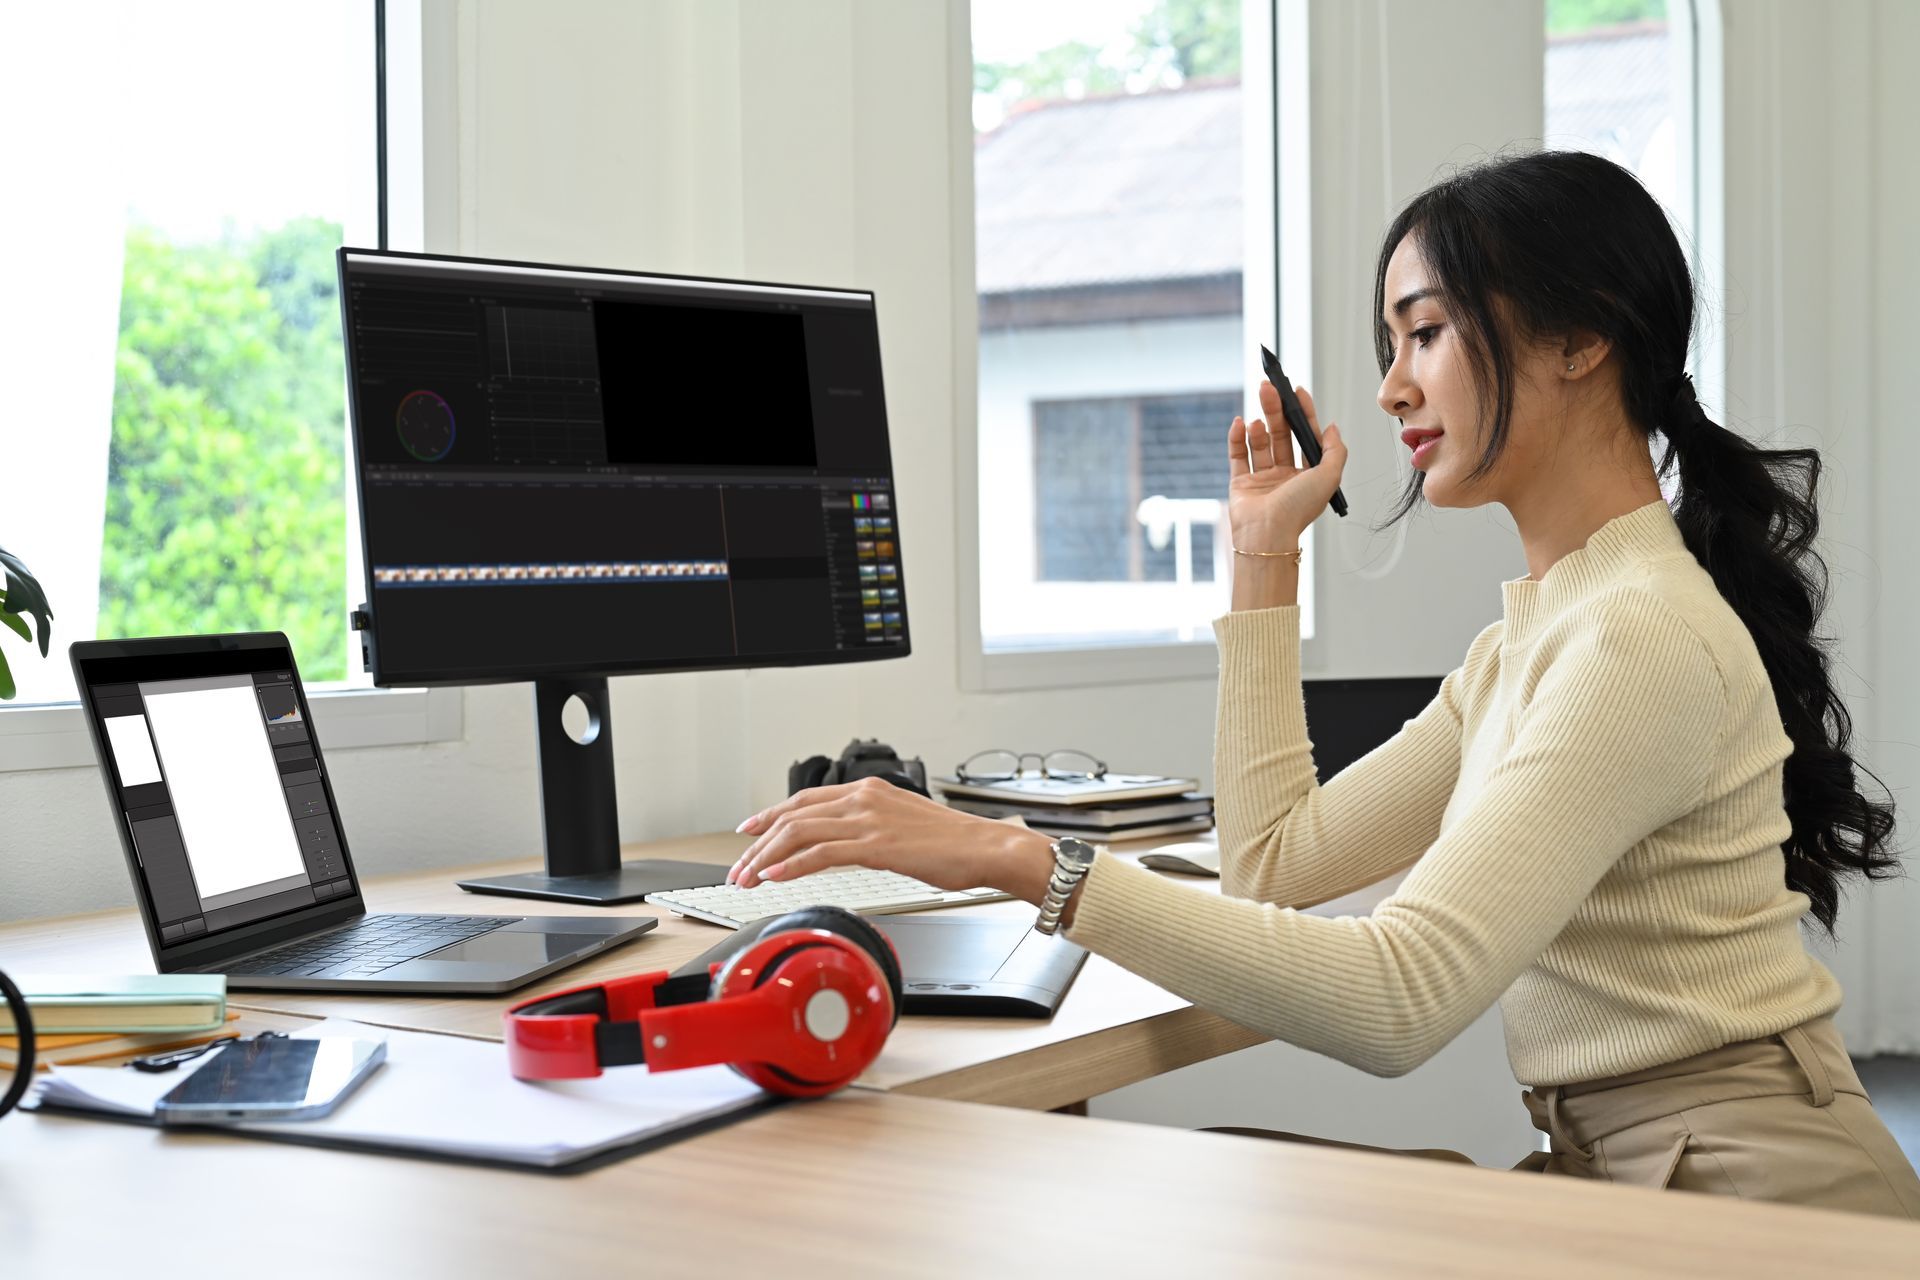
How to Change the Resolution of a Video Using Flixier
Upload the Video
To resize a video on Flixier, first, upload your preferred file to your project. On the Flixier homepage, press the Upload Video button and pick out a video from your computer. Different kinds of videos can be edited with Flixier.
Choose the resolution
When it has been uploaded, select the resolution you want for the video. Some of these options are 1080p and 720p, and it provides user customizations. The choice of resolution is essential so that your resized videos are clear and sharp.
Adjustment Videos
You may have to adjust the size properly after changing resolutions. Flixier provides several tools, such as cropping or resizing a film frame element and positioning elements back inside. You must ensure that your chosen one retains valuable content.
Preview and Save
When all the adjustments are made, look at what this new version looks like when played on full screen and then click Save. If you like variations, save them in the formats and resolutions most suitable. It will help you save or download such clips after they have been adjusted accordingly.
Resize the video for export.
Eventually, you can download or export this minimized clipping from Flixier with its quality and resolution. By exporting such videos, one can acquire them with dimensions that fit the various social media platforms like websites.

How to Change the Resolution of a Video Using Kapwing
Uploading Videos
You can do this by clicking the upload button on the Kapwing webpage and selecting a video from your computer or device. Different formats of videos are supported by Kapwing editing.
Choose Desired Resolution
Once uploaded, you can set the desired resolution for your video. You can select the most commonly used resolutions, like 1080p and 720p, or even use the customized resolution option according to your requirements in Kapwing.
Adjusting Video Size
After choosing the resolution, the video's size might need to be changed to fit nicely into the different dimensions created. If you decide on cropping and resizing, you can change some elements’ locations within frames. At this point, ensure that the video remains great after the quality of the film has been shifted to various resolutions.
Preview and Edit
After adjusting the video size, view how it looks using this new format after pressing the play button on the display mode of the player control bar found at its lower part.
Save and Export
Save your resized videos in Kapwing after making all necessary adjustments. Export them in their chosen resolutions and formats. Kapwing’s interface lets you download these clips directly onto your devices or social site accounts with other handles.
Sharing and Collaboration
Kapwing also offers features for sharing your edited videos with others or working together on them. You can send a link to any of the videos you have edited and seek feedback from viewers or even collaborate with friends in real-time as you edit.

Best Practices To Use to Change the Resolution of a Video
Maintaining Video Quality during the Resizing Process
When changing a video's resolution, retain the quality. To ensure this, select an appropriate resolution for your content and platform. Keep the resolution manageable since it may result in a loss of clarity and detail. Besides, some reliable software solutions allow changing dimensions without affecting quality.
Adjusting the Video's Framing and Trimming as Needed
After resizing a video, one should adjust its framing and trimming to correspond perfectly to the new resolution. Watch out for what is vital in the footage, making necessary corrections to keep them visible and centered. Additionally, removing excess scenes can further enhance how well-composed such resized videos look.
Considering the Intended Platform and Audience for the Resized Video
Before changing video resolutions, consider where such a video might be viewed on which platform, and by whom. Different platforms require different resolutions. Set your own according to those requirements of videos targeted at individual social media platforms based on their purposes. In contrast, professional presentations need more specific ones as they are explicitly made for interested professionals with specific viewing preferences regarding the most popular visual content services.
Testing on Different Devices
After resizing your video, it’s always good practice to test how it looks on various devices with different screen sizes/resolutions. This ensures consistency across different platforms where your resized video will appear correctly, creating a pleasant viewing experience across all users’ devices.
Optimizing File Size
If changing a video’s resolution is necessary, consider optimizing file size without compromising quality. Smaller-sized files load faster and are easier to share online. Use compression techniques or choose appropriate settings during export to maintain quality while reducing file size.
Seeking Feedback
Lastly, consider seeking feedback from others after resizing your video. Other opinions from friends can help you make a proper decision on what should be changed regarding the current frame of your video when you have no clear idea of how well it will work out for viewers as soon as they open that link.

Common Issues and Troubleshooting When You Change The Resolution of a Video
Dealing with Black Bars or Distorted Images:
If you see black bars or distorted images after adjusting the resolution of a video, there could be a mismatch between the aspect ratios. To resolve this, go to aspect ratio settings and set them up according to new resolution values. Besides that, you can crop such footage (to remove black bars) or scale it to ensure it properly fits into the frame. Moreover, ensure your editing software does not stretch or distort videos when you resize them.
Addressing Resolution and Aspect Ratio Mismatches
When facing resolution and aspect ratio mismatches, it is essential to know what original aspect ratio your video was and what resolution you want. If the new resolution does not match your video's aspect ratio, you may have to modify framing or cropping to fit the new dimension correctly. Observe how elements in the video are displayed and make necessary adjustments so that there won’t be any distortion or cropping issues.
Seeking Help from Online Resources or Support Forums
When changing the resolution of a video causes unending issues, consider looking for help from online resources or support forums. Most of this software has community forums where people can get tips on software operations, among other troubleshooting. Find tutorials or guides specific to your editing program that address common problems. Furthermore, complex issues can be resolved effectively if customer support is approached.
Checking System Requirements
Ensure your computer meets the system requirements for running the video editing software smoothly. Poor system resource allocation affects resized videos that face performance challenges. At times, though, compatibility errors during the resizing process may be quickly sorted out by upgrading software and drivers.
Clearing Cache and Temporary Files
Sometimes, issues with resizing videos can be caused by a buildup of cache or temporary files in your editing software. This will improve its performance and prevent glitches affecting how well-resized videos work.
Testing on Different Devices
Check it out on different devices after resizing a video with screens of various sizes plus resolutions, ensuring it will render adequately anywhere you take it without any compatibility challenges involved before sharing it.
Final Words on How to change the resolution of a video:
It is essential to test resized videos on different devices and seek feedback from your target audience to ensure they look good and work well. Therefore, with patience and caution, you can change video resolutions without compromising the quality and avoid the usual pitfalls. Contact us for more information concerning video production and how to handle a video’s resolution.

Get total clarity on your video marketing and paid media with our FREE comprehensive data audit.
CINESALON NEWS
POPULAR POSTS
Like what you read?
Interested in having video do more for you? Give us a shout on the form or book a call.
We make your complex ideas simple to everyone else.
Do video marketing
better.
Hire the experts at CineSalon.
Quick Nav
Company
Locations
Case Studies
Services
All Rights Reserved | CineSalon

